Redwork Embroidery Patterns and Redwork Embroidery Quilts
Let’s take a 1740 discovery, an 1920’s embroidery style, a 1950’s Retro Owl pattern, and today’s trends of adding establishments to our needle arts and see what we come up with.
Around 1850 in the United States the Redwork embroidery style began because of an amazing process that created a colorfast red dyed for cotton fibers. Colorfast means that the dye in the thread would not fade, wash out, or cause the dye to bleed onto the background fabric.
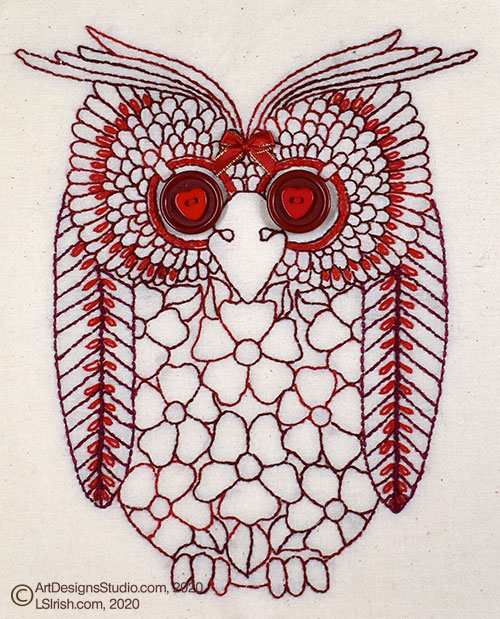
Today, Redwork is seeing a serge in popularity and has begun branching out from traditional, vintage, and antique patterns. My owl is worked, centered, on a 16″ square of muslin, which fits a 12″ frame and allows extra fabric to turn over the frame’s backboard. The owl pattern measures 9″ high x 8″ wide.
That perfect quilt square is easily in reach if you have just a yard or so of muslin, permanent marking pens, crayons, fabric paints, or even silk ribbon … and ArtDesignStudio.com pattern packs.
Can’t find that exact fabric pattern that you are craving? Can’t find it in the exact colors that you need for your latest quilting project? No problem … color your own!
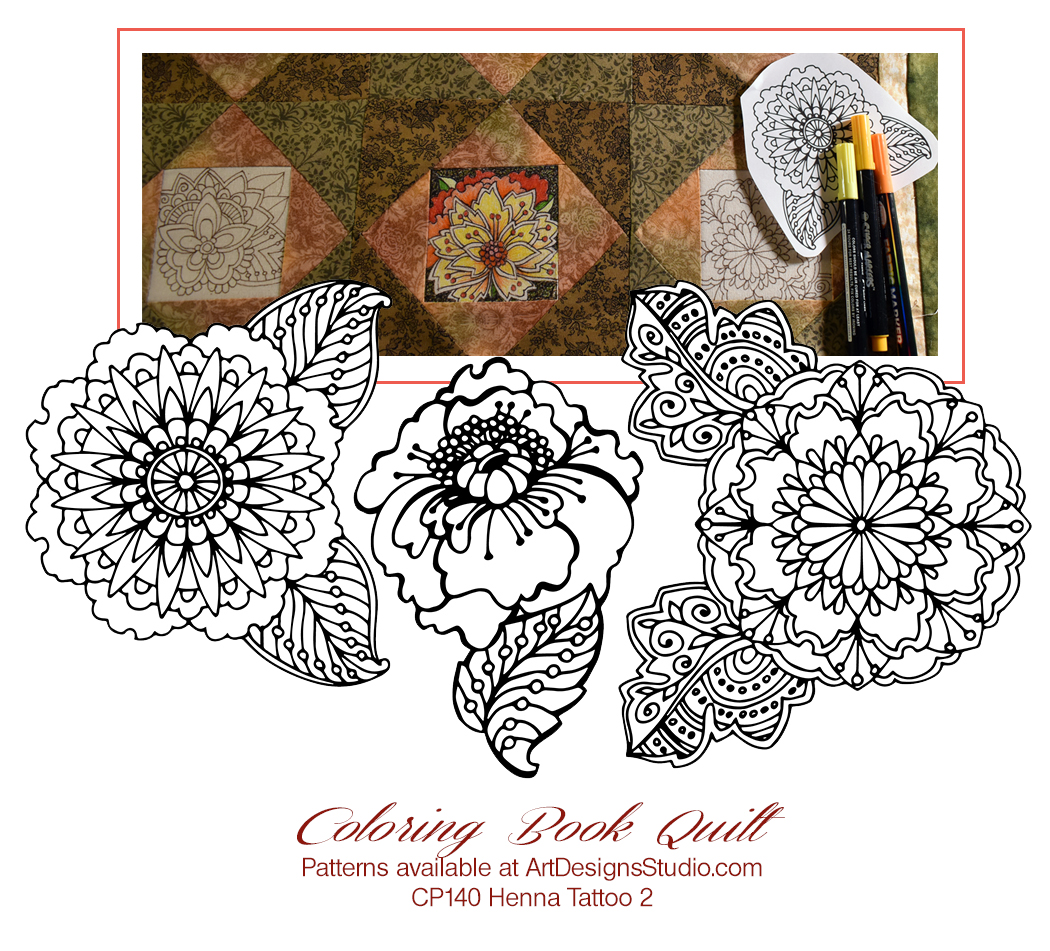
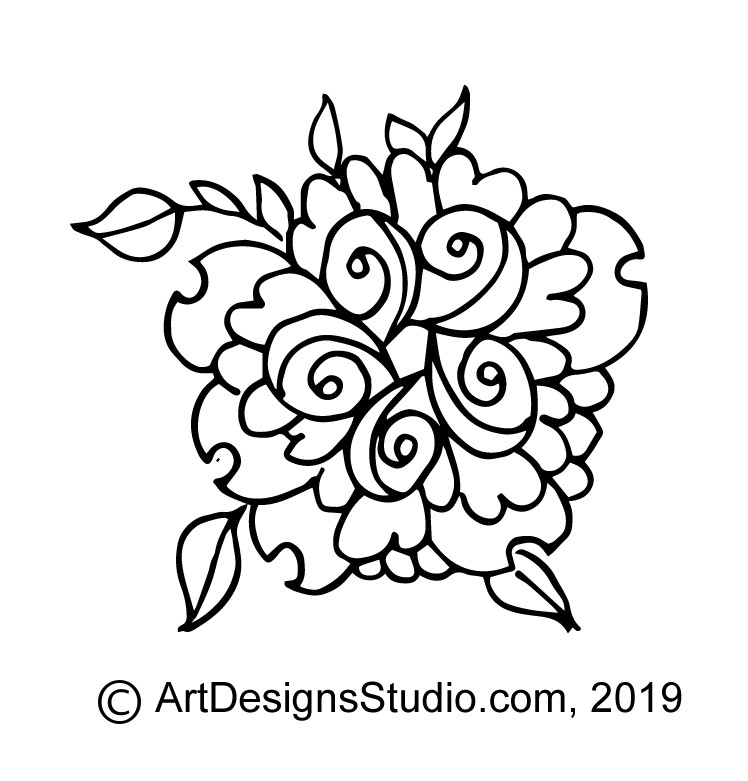
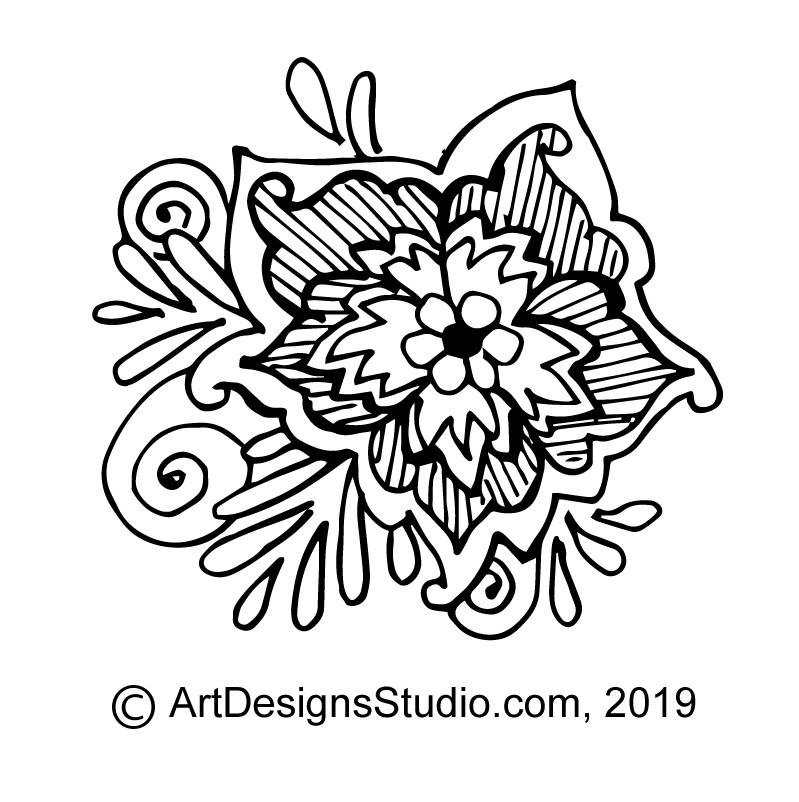
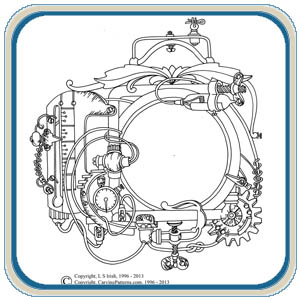
I chose Henna Tattoos for my table runner Coloring Book Quilt. But any idea goes – wildlife, Celtic, dragons, steam punk. ArtDesignsStudio.com has over 140 pattern packs full of ideas, ready for you to download today.
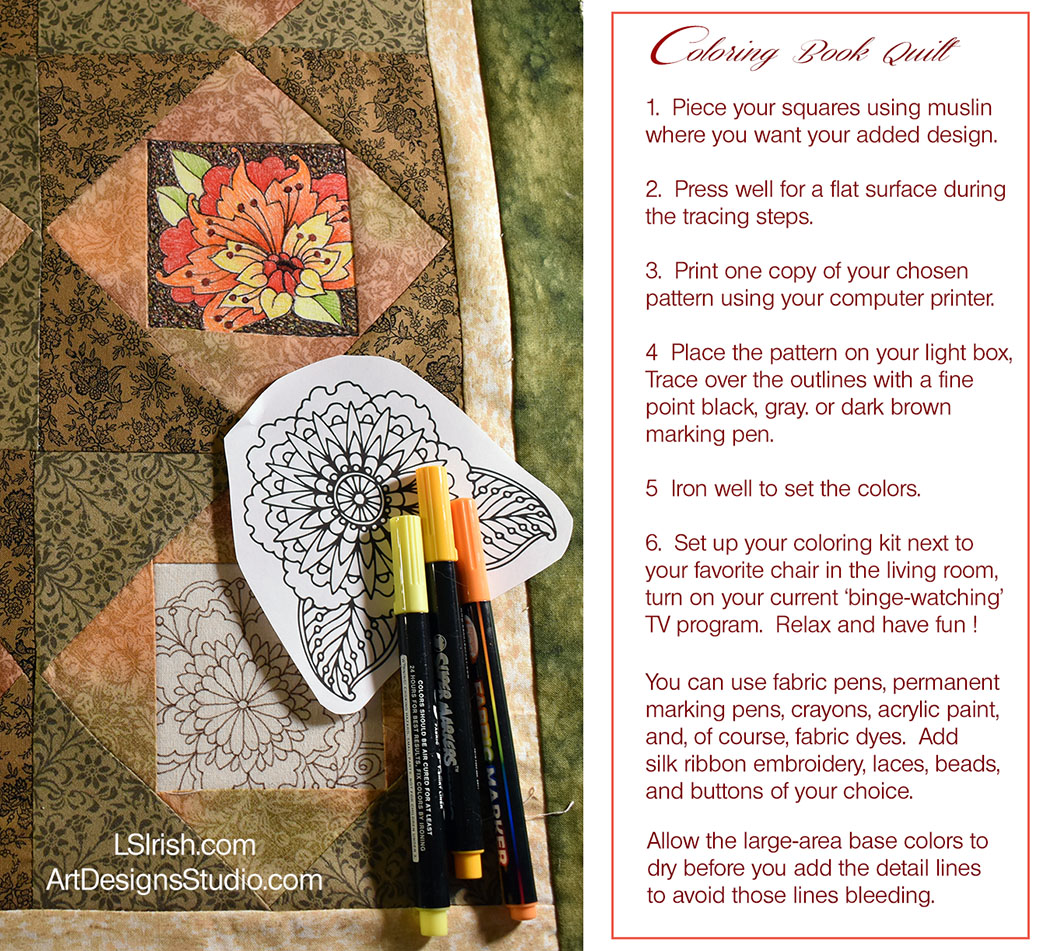
1. Piece your quilt squares using muslin where you want your coloring Book design.
2. Press well so that you are tracing on a flat surface.
3. Print one copy of your chosen pattern using your computer printer.
4. Place your pattern on your light box. Trace over the outlines with a fine point permanent marking pen of black, gray, or dark brown.
6. Set up your coloring kit next to your favorite chair in the living room. Turn on your current ‘binge-watching’ TV program. Relax, have fun, and color away.
You can use fabric pens, permanent marking pens, crayons, acrylic paint, and of course, fabric dye. Also consider beads, silk ribbon embroidery, lace, and buttons.
Allow the large-area base coats to dry before you add the detail lines to avoid bleeding. Set the colors with a hot iron after you are done.
Please share the fun on FaceBook, Pinterest, and Reddit! Thank you!!!!
Even a wood carving – pyrography – line art artist needs a hobby. Something that is quick, fun, and inexpensive. something that you can work in the rec room, and something that will make fantastic easy gifts.
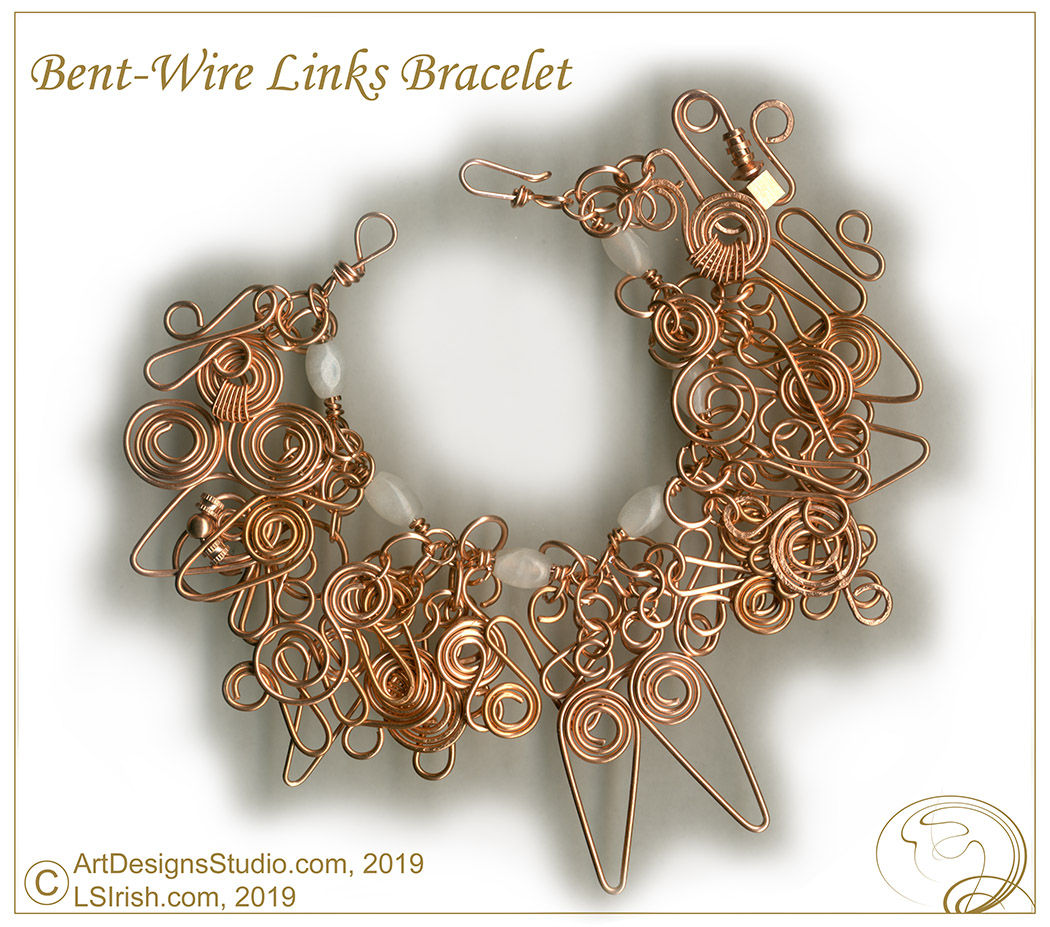
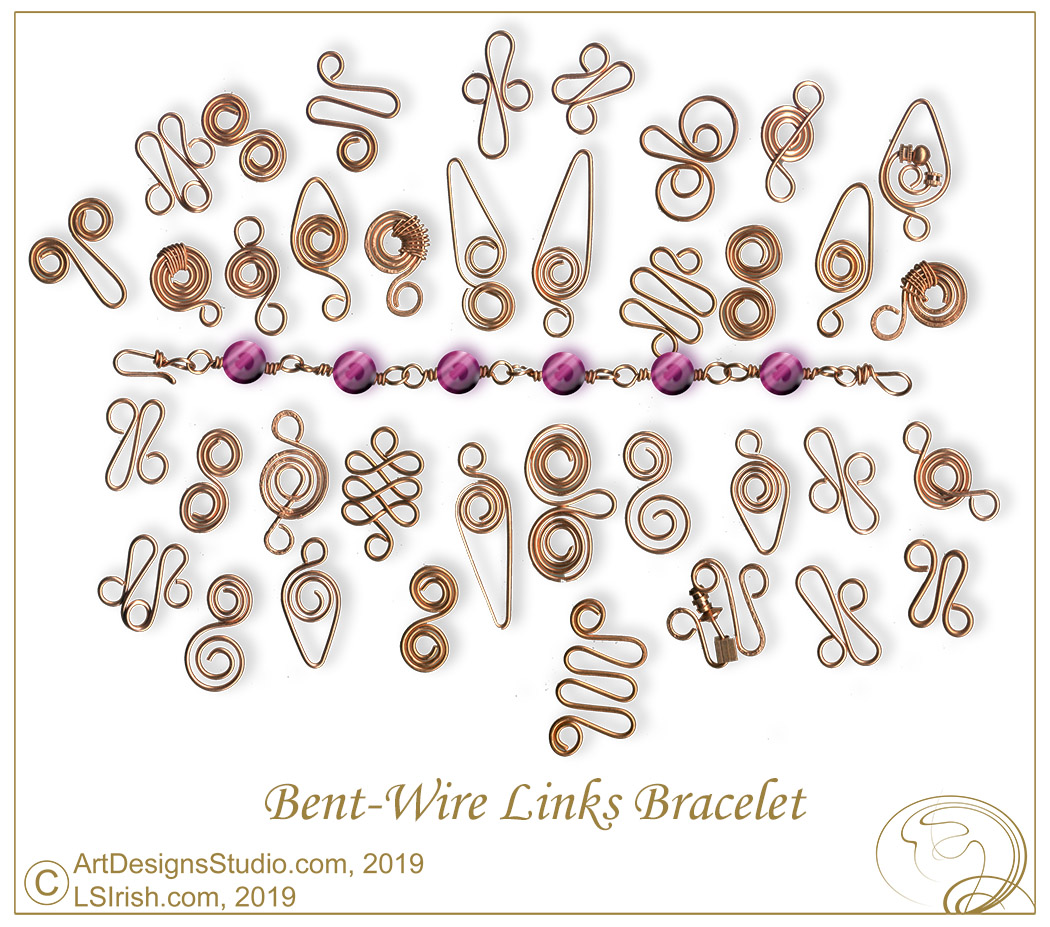
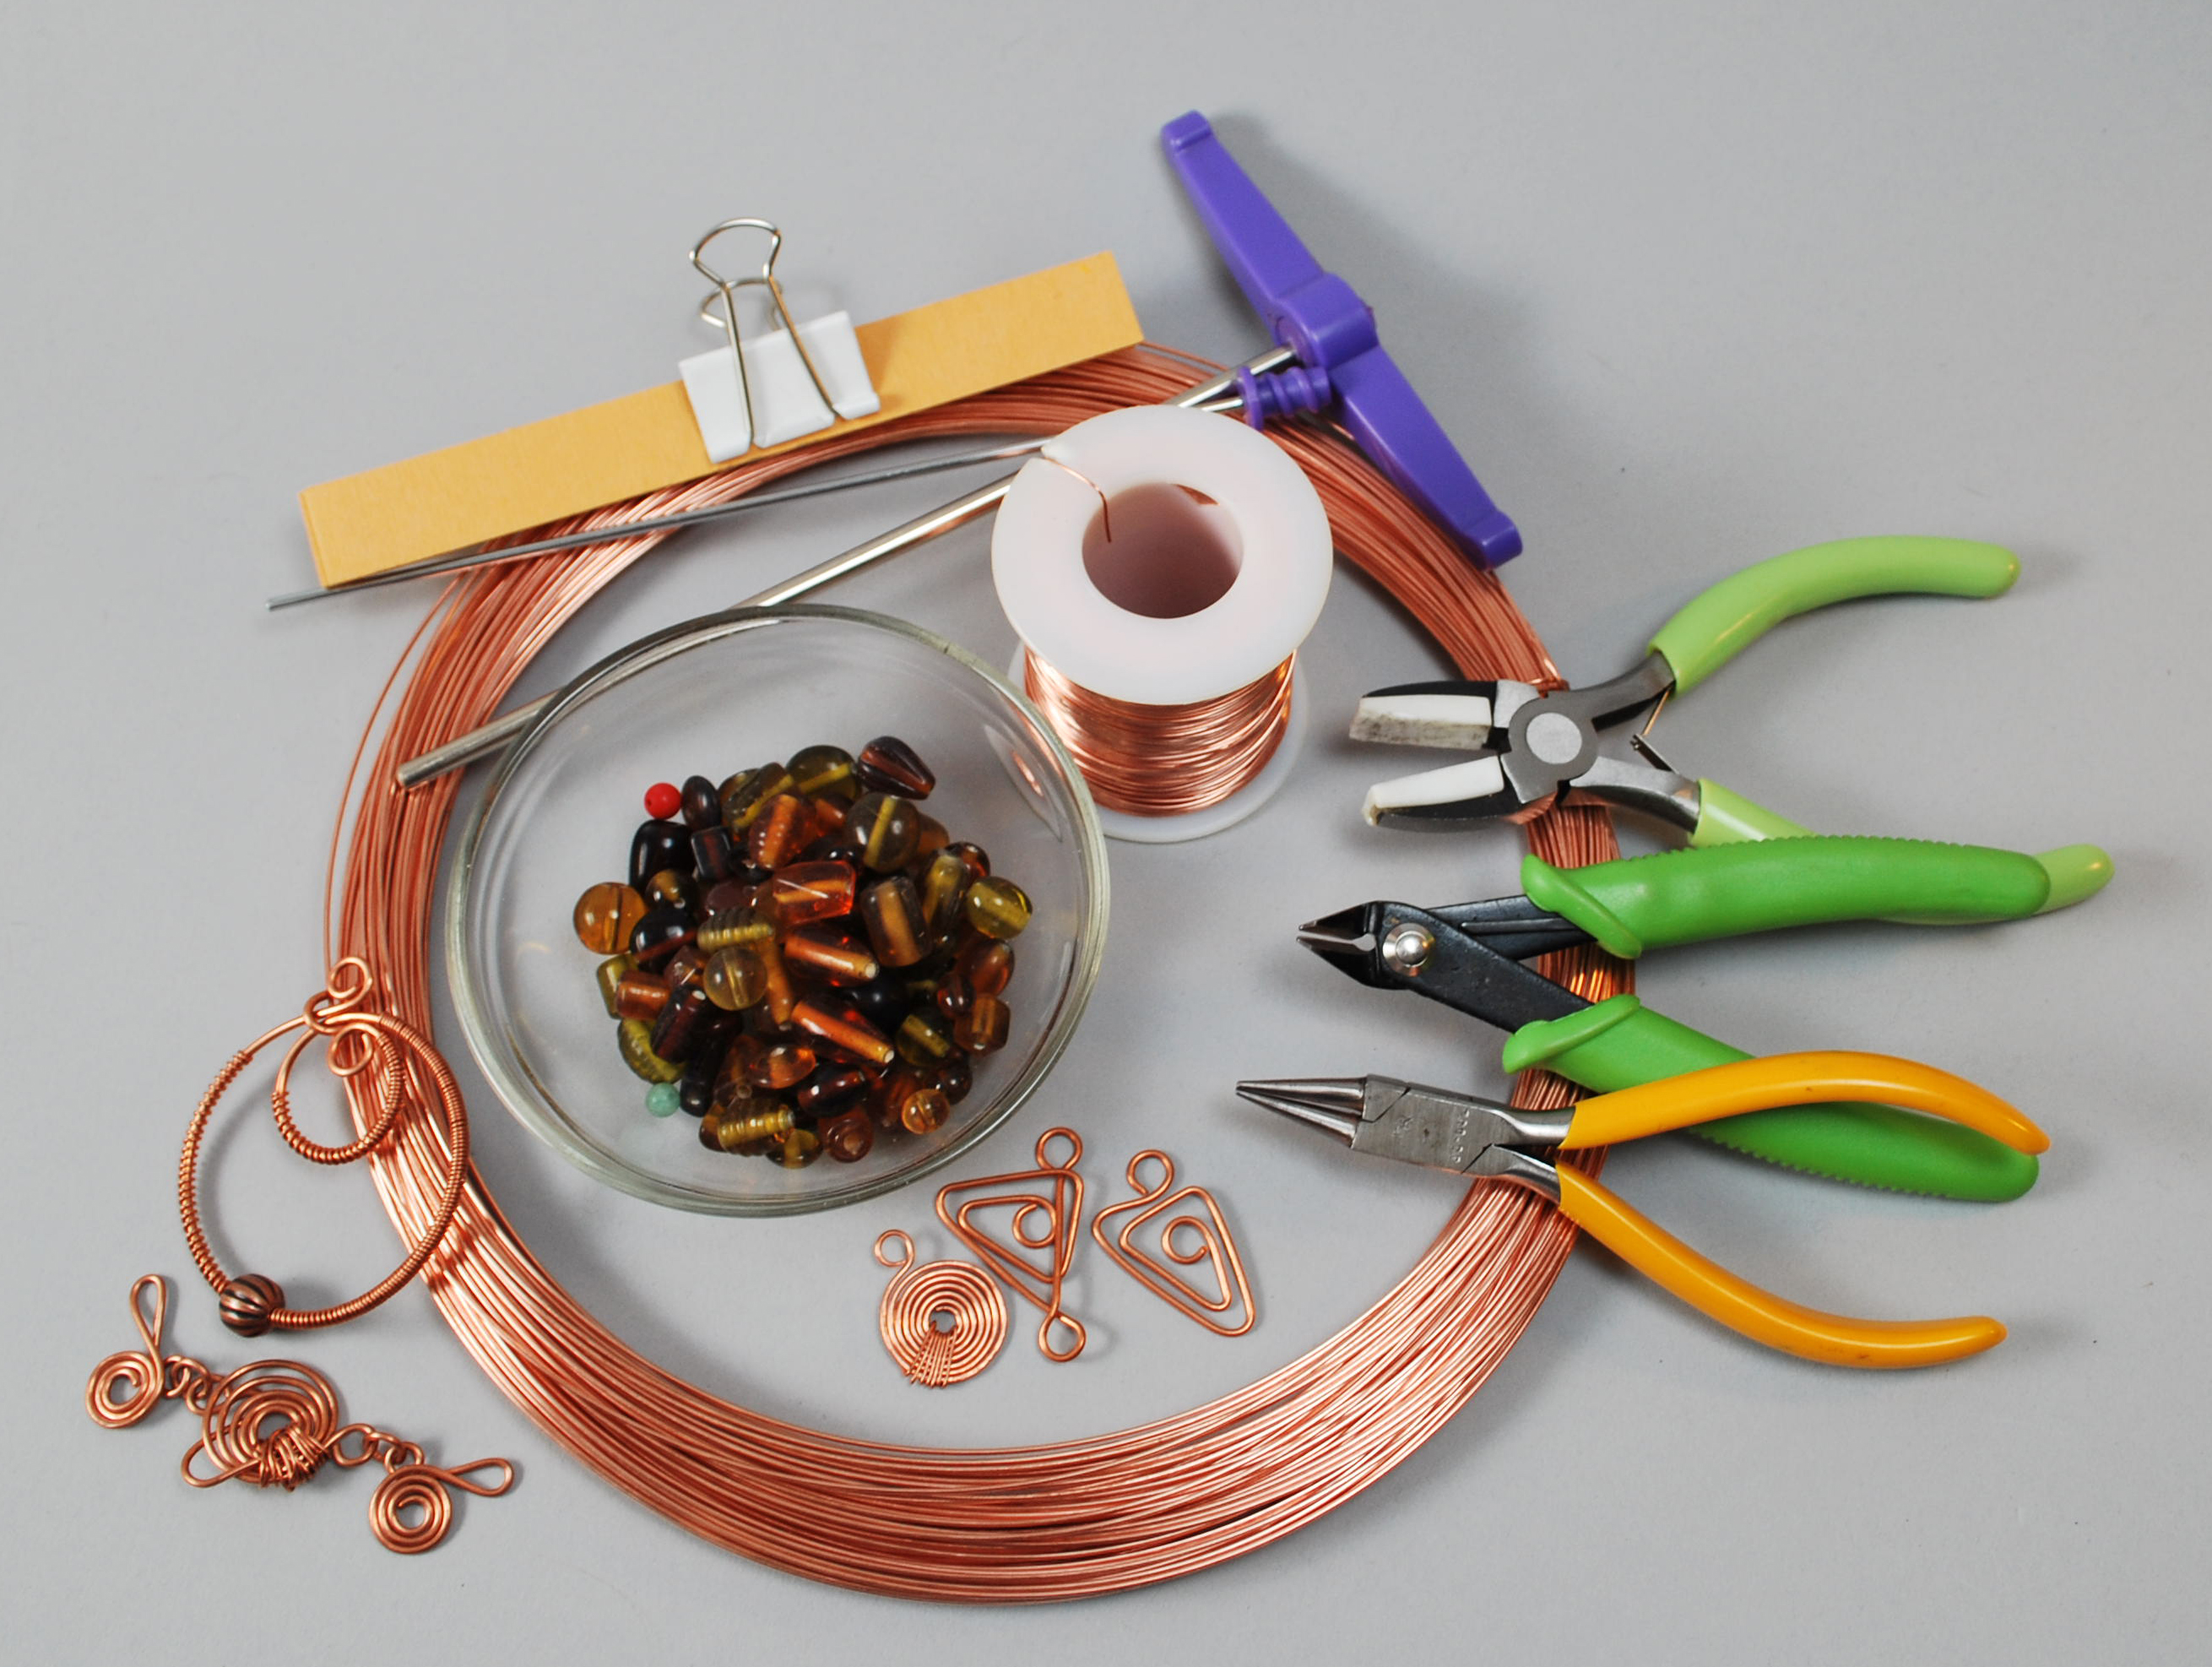
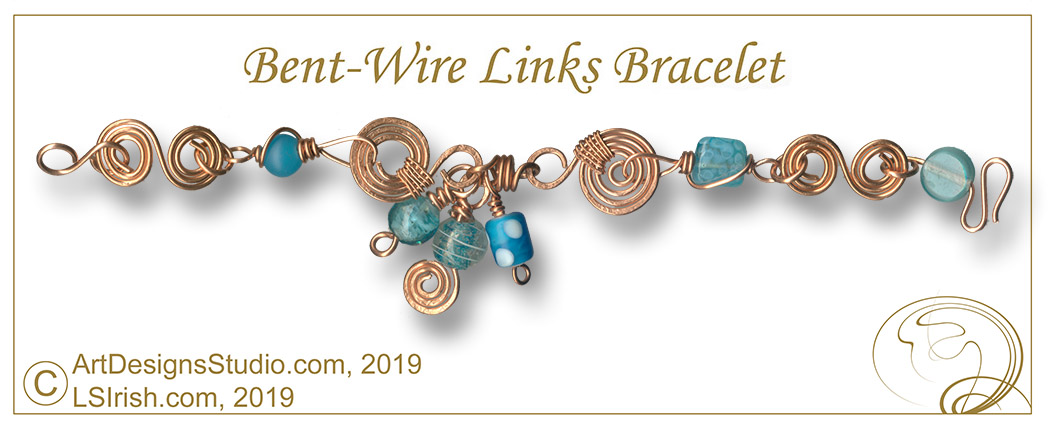
My extra hobby is wire-bent, wire-wrapped copper jewelry!
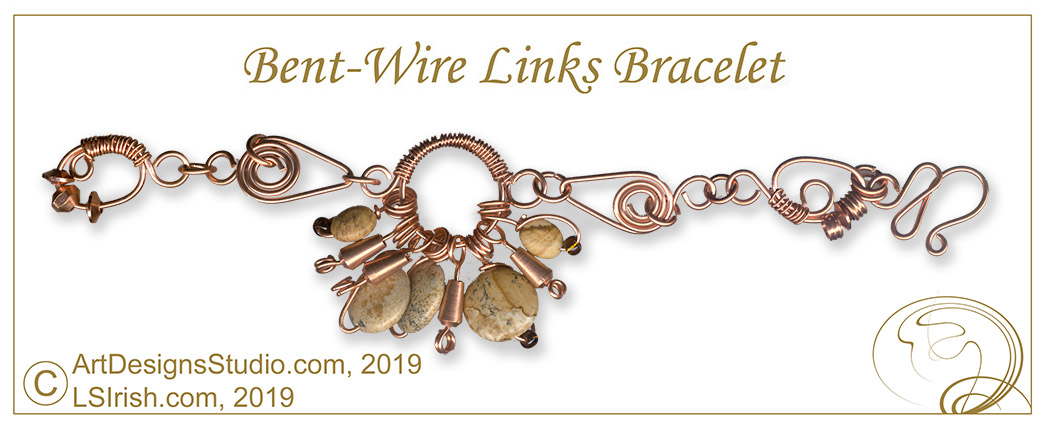
The Wire-Bent Links Bracelet, shown above, is a fun design created from a selection of the over 300 bent-wire links that you can create featured in Easy & Elegant Beaded Copper Jewelry, published by Fox Chapel in 2011.
As you practice the wide variety of copper wire bent links that you can create you will end up with a wonderful pile of small, bright, shiny links – ready for your next jewelry project.
By creating a simple straight loop beaded link chain, you now have the bracelet base on which you can hang those links, using a jump ring or split ring. This is one design where the more the better, so let your creativity run wild.
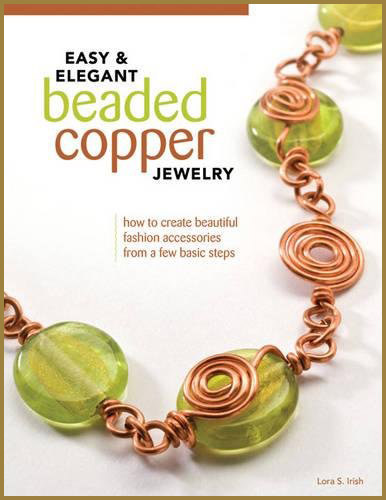
How to Create Beautiful Fashion Accessories from a Few Basic Steps
You can make affordable and stylish copper wire jewelry with a few simple tools, some wire and beads. Learn over 300 different link styles and how to create your own with step-by-step instructions and outstanding instructional photos!
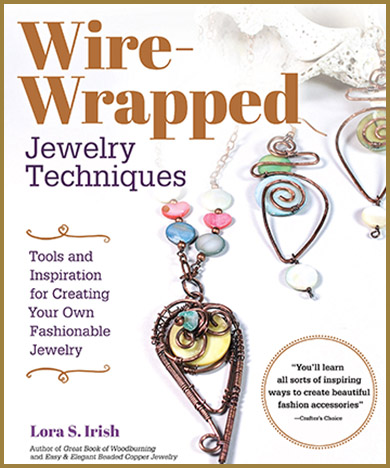
Tools and Inspiration for Creating Your Own Fashionable Jewelry
This comprehensive guide to wire-wrapping jewelry covers all the techniques beginners need to know!
30 expert wire wrapping techniques step-by-step, including simple loops, cluster wrap, adding beads to wrapping wire, adding a coil element, wrapping sequential layers, and more
8 stylish DIY projects for statement jewelry like necklaces, pendants, hairpins, and earrings
Comprehensive guide includes step-by-step instructions, lists of materials and tools needed, and helpful tips and tricks
Beginner-friendly for anyone who is new to wire wrapping or just wants to brush up on techniques
Doodle Days #13 – Blue Jean Painting, Wood Burn Spoons, Wood Carved Spoons, Leather Work, Free Lora S. Irish Patterns to Download, DIY Bookmaking, Bullet Journals, Scrap Booking, Card Making, Applique Quilting, Pyrography, Wood Carving
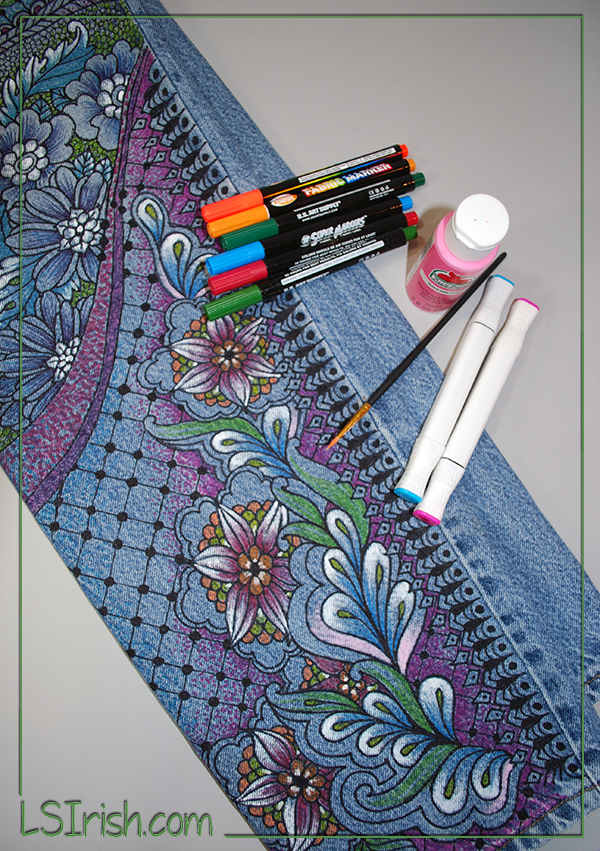
Painted Blue Jeans using our Free Doodle Patterns
Supplies:
1 pair of medium-blue blue jeans 1 cork-backed ruler 1-3 fine-point black fabric pens 1 set of 18 to 24 colors, medium-point fabric marking pens 1 set of assorted color fabric marking pens 1 piece of scrap cardboard, large enough to slide inside the pant’s leg steam iron
Step 1: Pre-wash your jeans to remove any starch or stabilizing chemicals. Dry the jeans thoroughly before you begin painting.
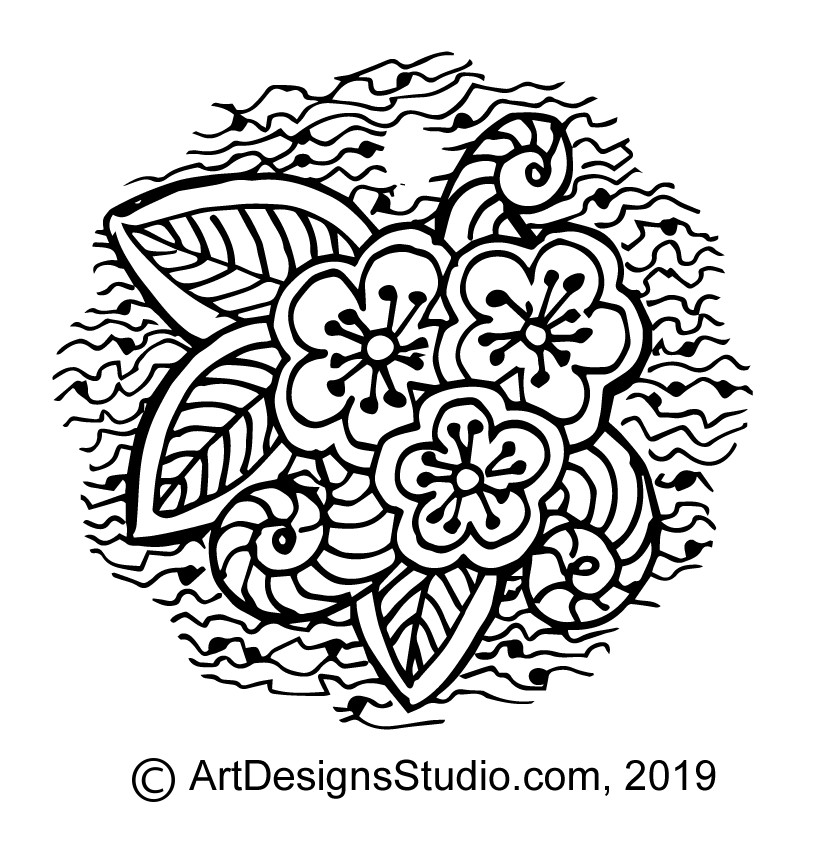
Free Doodle Pattern #043
Step 2: Download your copies of our Free Doodle Patterns, here on LSIrish.com. Type doodles into the search box in the header. We are on numbers 043 to 045 today, which should give you a nice selection of designs to use.
Step 3: Cut the scrap cardboard to fit inside of the pant’s leg, so that one end of the cardboard comes out the pant’s leg at the bottom. You can move this cardboard as you work to protect the jeans from color blending through to the other side of the jeans.
Step 4: With a black fabric marking pen begin doodling … use a light pressure on the pen tip for the smoothest and fullest line coverage. Mix your main designs with long flowing line breaks and fill patterns.
Free Doodle Pattern #044
Step 5: Use a cork-backed ruler, laid along the inner leg seam line for your measurements for the edge trim design. The cork will grab the fabric, keeping the ruler in place as you work. My inner leg trim was worked at 1/2″ measurements.
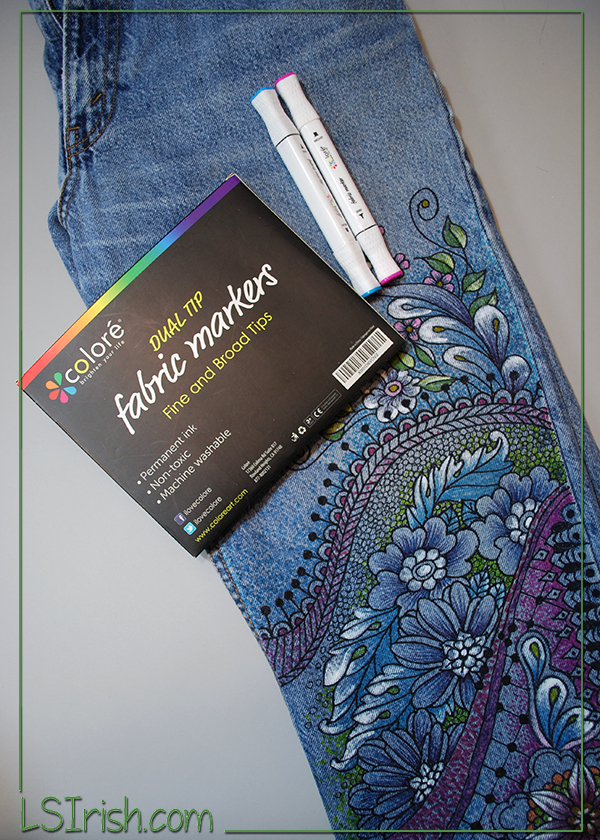
Step 6: Have fun adding colors to your design. Fill in some areas with a solid coloring, and in others just add a touch of line work. Let some areas remain unpainted to allow the blue jean color to become part of your design.
Step 7: Set your fabric pen colors according to your package directions. My set only required a hot, steam pressing to become permanent coloring.
Free Doodle Pattern #045
Step 8: Flip your jeans over and do the back side of the leg.
Step 9: You can create doodle designs on the 6 1/2″ square white cotton fabric pieces using this same method and add them to your pants. Fill in some areas of your pattern with the bright colors from your set. After the patch has been hot, steam ironed it is ready to sew into place, anywhere on your doodle jeans.