
Changing Your Scroll Saw Blade
Cross-Crafting Seminar Introduction
Cross-Crafting Seminar Supply List
Cross-Crafting Seminar Free Patterns
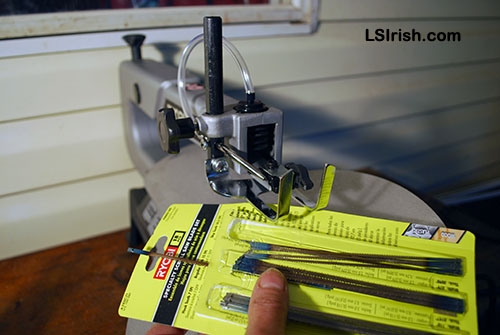 Step 9 Chose your new saw blade – pinned or unpinned.
Note Four – Scroll saw blades go teeth down!!!! If run your finger from the bottom towards the top of the blade you should be able to feel the teeth edges.
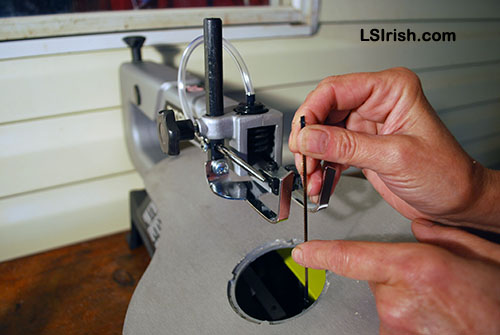 Step 10 These nest steps are basically the reverse of the removal steps. Insert the new saw blade in the lower blade holder. Tighten the lower Blade Holder Knob to secure this end of the blade.
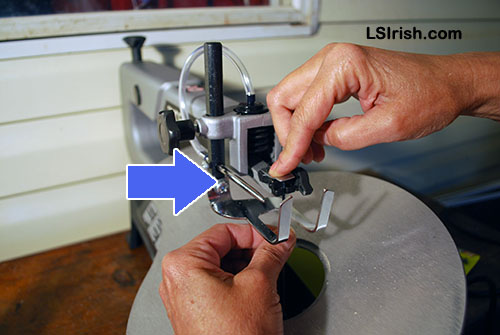 Step 11 Press down on the blade arm and insert the top edge of the blade into its cradle.
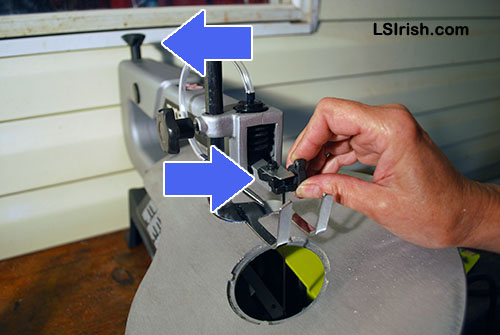 Step 12 Tighten the top blade knob. Tighten the Tension Knob of the top, back of the scroll saw, following the directions on the decal.
Pluck the new blade to check your tension as you tighten this knob. You want the blade fairly tight, but not over-stretched.
 Step 13 Reset the position of your work table by adjusting the Bevel Slide. Return the Throat Plate to the work table.
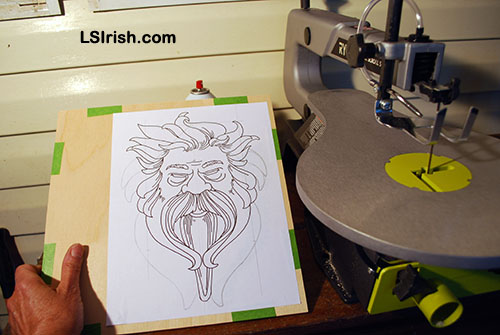 Step 14 You’re ready to start your next work session, and so are we as we move onto a practice scroll saw cutting session for this fun Wood Spirit face. I’m off to get the images and steps ready, see ya’ in a bit!