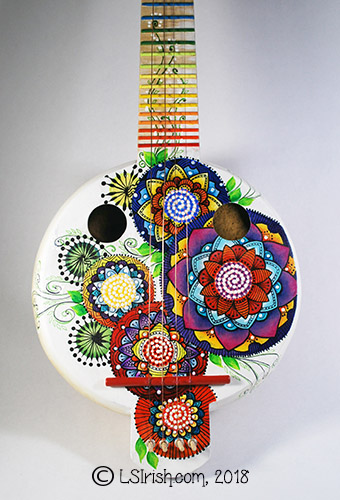
Creating Gourd Art Musical Instruments – Banjo

What happens when …
…you unite the joy of gourd art crafting, the joy of bright and vibrant colors, and the joy of music? You create this joyous gourd banjo with copper wire strings.
An extra large kettle gourd with some damage around the stem area inspired this fun gourd musical instrument project. While I did not take step-by-step photos … I was too involved in the fun of creation to remember … I will share four easy ‘secrets’ that made the construction quick and accurate.
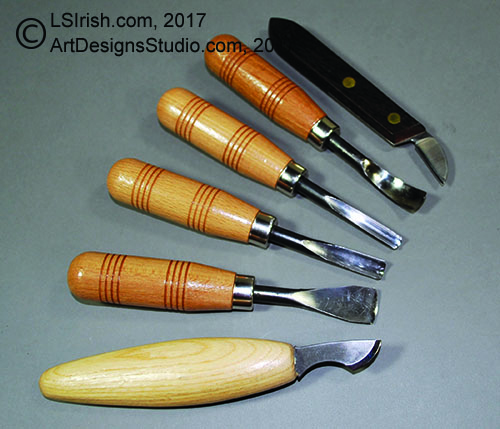
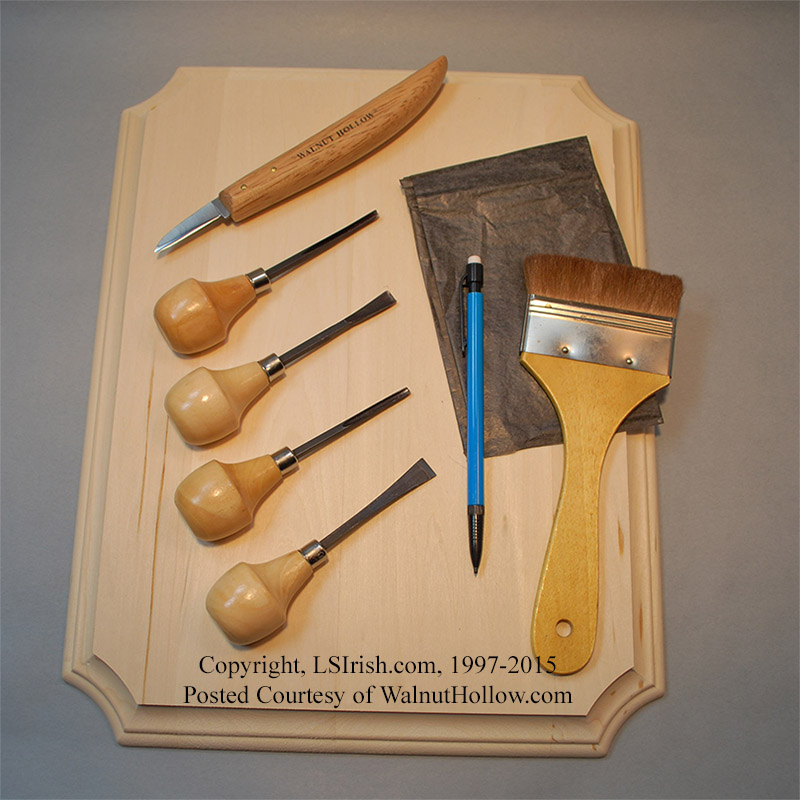
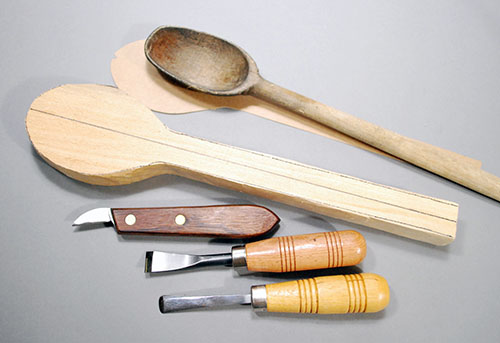
Supply List:
The general supply list is posted on the image below. Please click on this image and save it to your desktop.
Arteza Bone Folders (Set of 4)
Bare Copper Wire, Bright, 14 AWG, 0.064″ Diameter, 80′ Length
Bare Copper Wire, Bright, 18 AWG, 0.04″ Diameter, 195′ Length
Bare Copper Wire, Bright, 20 AWG, 0.032″ Diameter, 315′ Length
Jameco Valuepro 24BC 24 AWG Solid Bare Copper Bus Bar Wire 205′
Heavy Duty Muslin Clamps 4 1/2 inch 6 Pack
Liquitex Professional Flexible Modeling Paste Medium, 16-oz
 1. How to cut any gourd along a perfectly level, accurate circumference line.
Clean and prepare the outer surface of your gourd as you normally would. Wipe any sanding dust from the outer surface with a damp cloth, then allow the gourd to dry completely.
Visually estimate where you want the cut line along the circumference. Make a mental note as to which area of the gourd you will be using (the down side) and which area you will be removing (the up side).
Fill your kitchen sink 2/3’s full of water. Hold your gourd throughout this step as level to your visual cut line as possible. Place the down side – the side of the gourd that will become your project – into the water. Push it down until the bottom is covered with water and the surface of the water is at your visual cut line.
Lift the gourd up from the water carefully. Your gourd will have a perfectly level, perfectly straight, perfectly even wet line around the circumference of your gourd. With a soft #2 to #4 pencil mark the edge of the wet line. You are ready to cut.
This is a great technique when you have an odd shaped gourd that has an un-level top. Plunge your gourd into the sink water until the bottom sits firmly against the bottom of the sink. The water line will now be an even measurement from the bottom of the gourd, making a perfectly level cut line.
 2. How to sand any gourd top cut evenly and level.
While you are at the hardware store buying birch plywood for the face of your banjo, purchase three or four extra pieces. You will also need two sheets each of 100-, 150-, and 220-grit sandpaper, spray adhesive, and 1″ wide masking tape.
Work in a well ventilated area. Lay a strip of masking tape along one edge of the plywood. Your plywood is 12″ wide, while your sandpaper is only 11″. The tape protects the extra plywood from the spray adhesive.
Spray an even coating of adhesive over the 12″ x 12″ sheet of plywood. Lay one sheet of 100-grit sandpaper onto the board, aligning along the top edge – opposite of the tape. Lay a second sheet of 100-grit sandpaper against the first, so that the entire board is covered with sandpaper. Press firmly into place. Remove the masking tape. Let the adhesive dry well.
Cut off the extra 4″ strip of extra sandpaper that extends off the board.
Repeat these steps for your 150- and 220-grit sandpapers.
Clamp the board to a firm surface, your work table. You can lay your cut edge of the gourd onto the board and move the gourd in circular motions to evenly, and quickly sand the edge perfectly flat. Work the gourd through the three stages of sandpaper grit, starting with the 100-, then the 150-, and finishing up with the 220-grit.
3. How to fill the joint line between the gourd’s cut edge and the plywood face.
Even with the most careful cutting and sanding you can have small gaps in the joint between the plywood face and the gourd walls. Fill the gaps with Modeling Paste, also called Sculpture Paste. This is a water-soluble, acrylic-based, medium thick paste that dries quickly and can be sanded smooth.
Follow the directions on your jar. I prefer to lightly dampen the area that I will be filling. I let the area dry until there are no shiny, wet spots then fill the area with a light layer of modeling paste. Let this layer dry completely and lightly sand. If the area is not completely filled I repeat the application. Thin layers are easier for me to control, shape, and sand. Plus thin layers dry more evenly than thick applications.
Modeling paste – sculpture paste – can be painted using your craft acrylic colors. It’s perfect for those gourds that have rough or pitted areas on the surface!
A quick trick to insure that your jar of modeling paste lasts a long time is to thoroughly clean the jar rim and the inside of the lid after every use. Cut a square of plastic clinge wrap about 2″ larger than the jar opening. Place the plastic clinge wrap onto the jar’s opening, then put on the lid. The wrap seals along the jar’s rim, preventing your paste from drying out.
 4. Save yourself time, worry, and fuse by using ArtDesignsStudio.com patterns!
Like many crafters you have only so much limited time to create and craft. Do you want to spend that time actually working on your project or on researching, designing, and refining the pattern you will use?
We have over 3000 line art and craft patterns, ready to download directly to your home computer, in a huge variety of themes, ideas, and designs – Wildlife, Celtic, Wood Spirits, Architectural Accents, Landscapes, and so much more.
I use CP139 Henna Tattoos 1 and CP140 Henna Tattoos 2 from our Special and Miscellaneous Patterns Category for my Gourd Art Banjo.