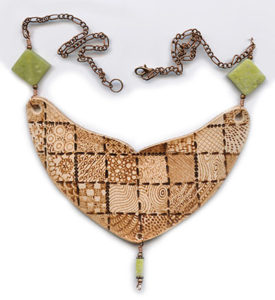
What happens when you mix your pyrography, leather crafting, jewelry work, and lots of bright colors … You create unique pyrography leather jewelry. Another free, online project at LSIrish.com.
Tracing a Pattern There are several ways to transfer a pattern to a carving blank – carbon paper, graphite paper and pencil rubbing. All three products transfer a pattern to wood, but which you use is determines by the craft you are working.
Carbon paper Originally used to make multiple copies of a typed or written document, carbon paper comes in black or dark blue. Tracings made using this product have heavy, dark, bold lines. Carbon paper is perfect for transferring patterns for long-term projects, as the traced lines will not fade or rub off, even after many hours of carving work. However, carbon paper creates a traced line that can not be erased with an eraser, and often can not be removed with fine sandpaper. I use carbon paper with my wood carvings, but never with pyrography.
Graphite paper This paper is lightweight with a waxed graphite coating on one side, and comes in both pale gray and white. When tracing a pattern, the graphite side is placed against the wood, resulting in a tracing with medium-gray colored lines. Graphite paper is available in sheets as small 8 1/2″ x 11” (216 x 279mm) and as large as 48” x 96” (1219 x 2438mm), and also comes in rolls several yards long. Graphite paper can be used several times, so keep previously used pieces for later tracings. This product works well for both carving and wood burning.
Pencil Rubbing To use the pencil rubbing method for transferring a pattern, rub a soft #2 to #6 pencil over the back of your pattern paper. The higher the number of your pencil, the darker or blacker the rubbing will be. Then, place the pattern face up on your carving blank and begin tracing it. As you trace along the pattern lines, a thin, light gray coating of pencil will be left on the wood blank. Pencil rubbing lines can be erased using a white artist’s eraser, making it an excellent method for transferring patterns for carvings that will include some pyrography work. This is my favorite form of tracing as it is so easily removed after your pyrography or carving work is done.
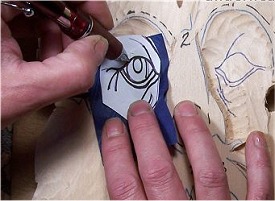
Simple steps for tracing a pattern Tracing a pattern onto your carving blank is an important step; you want to make sure you center the pattern on the wood. Follow these steps to trace a pattern using graphite paper.
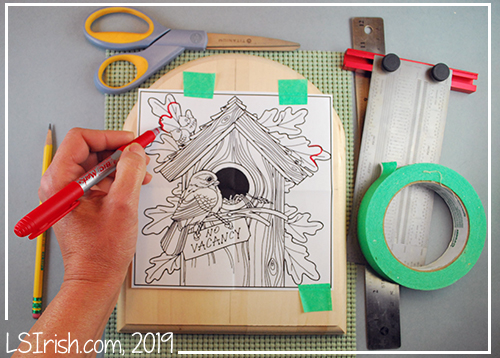
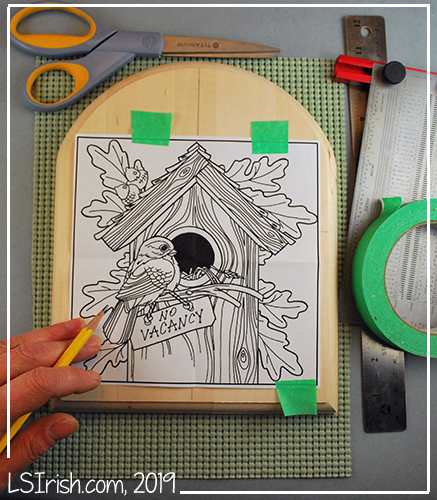
1 Gather your supplies. To transfer a pattern to your wood blank, you will need a copy of the pattern, carbon paper, an ink pen, a ruler, a T-square, and tape.
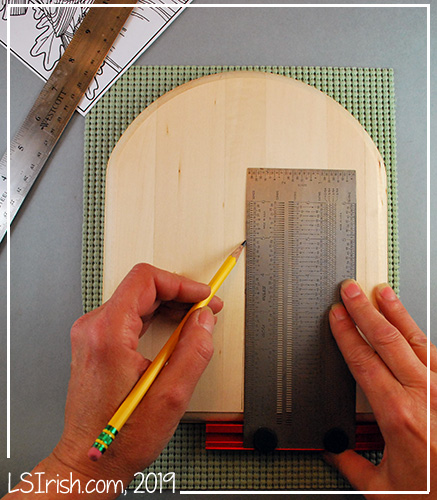
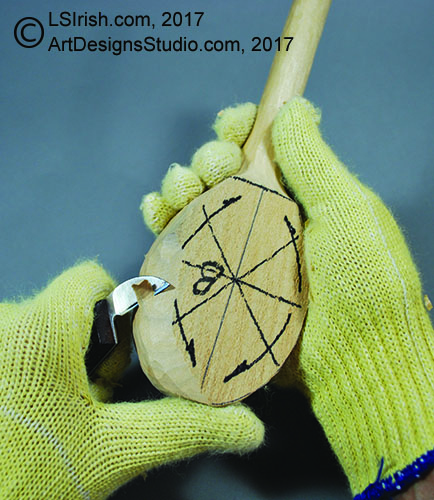
2 Mark the center of the blank. Using your ruler and T-square, mark the center of the carving blank using a horizontal center line and a vertical center line
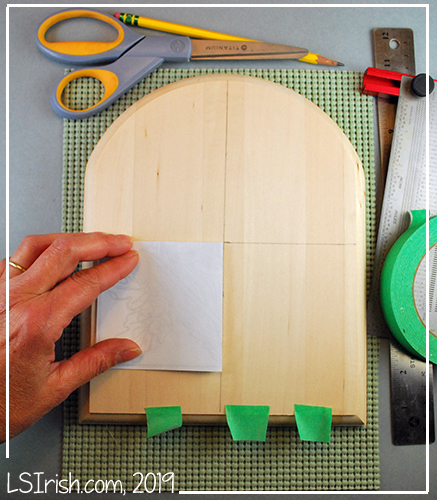
3 Align the pattern with the center lines. Fold the copy of the pattern into quarters. Place the pattern on the blank, aligning the fold lines in the paper with the center lines drawn on the blank. Tape the pattern into place .
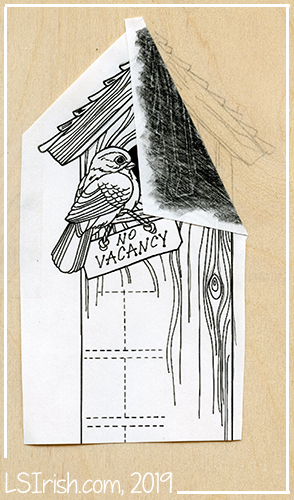
4 Adjust the pattern as needed to fit the shape of the wood. For our sample tracing the board has a curved top that affects the placement of the pattern. By sliding the design down along the vertical line the square pattern is now centered to the square area of the plaque.
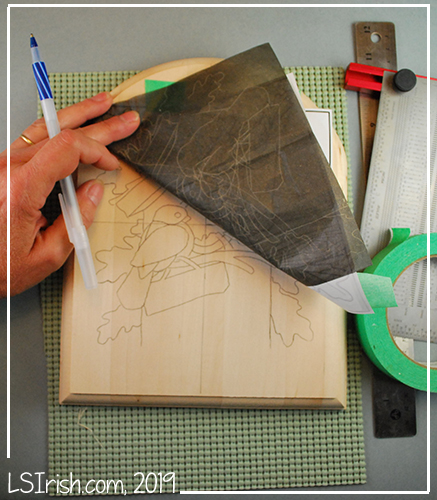
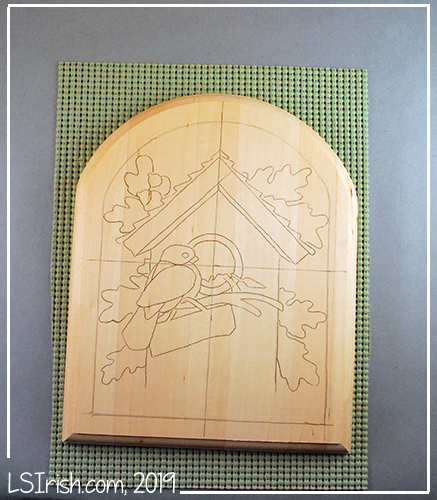
5 Place the carbon paper, and trace. Mark any adjustments necessary on your pattern. Slide the carbon paper in place under the pattern paper, and trace along the outside lines of your grouped elements. Check your tracing before you remove the pattern and carbon paper to ensure you have transferred all the necessary pattern lines .
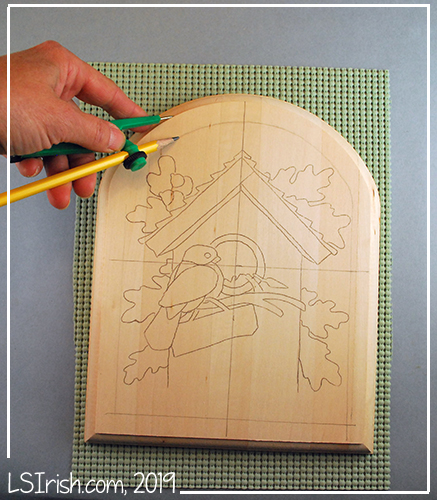
6 Create a border if desired. If you like, you can use a compass to create an outside border or margin line around the pattern .
7 Add in the details as you carve. As you progress through the carving stages, cut small pieces of your original pattern paper, secure them to your wood blank, and trace the fine line details to that roughly cut areas.
8 Print several copies of your pattern. As you work you will often find that your carving will cut away some areas of the traced pattern or that your burned shading will obscure some areas of your traced line. You can cut small sections of your extra pattern out from the larger design and spot trace as needed.
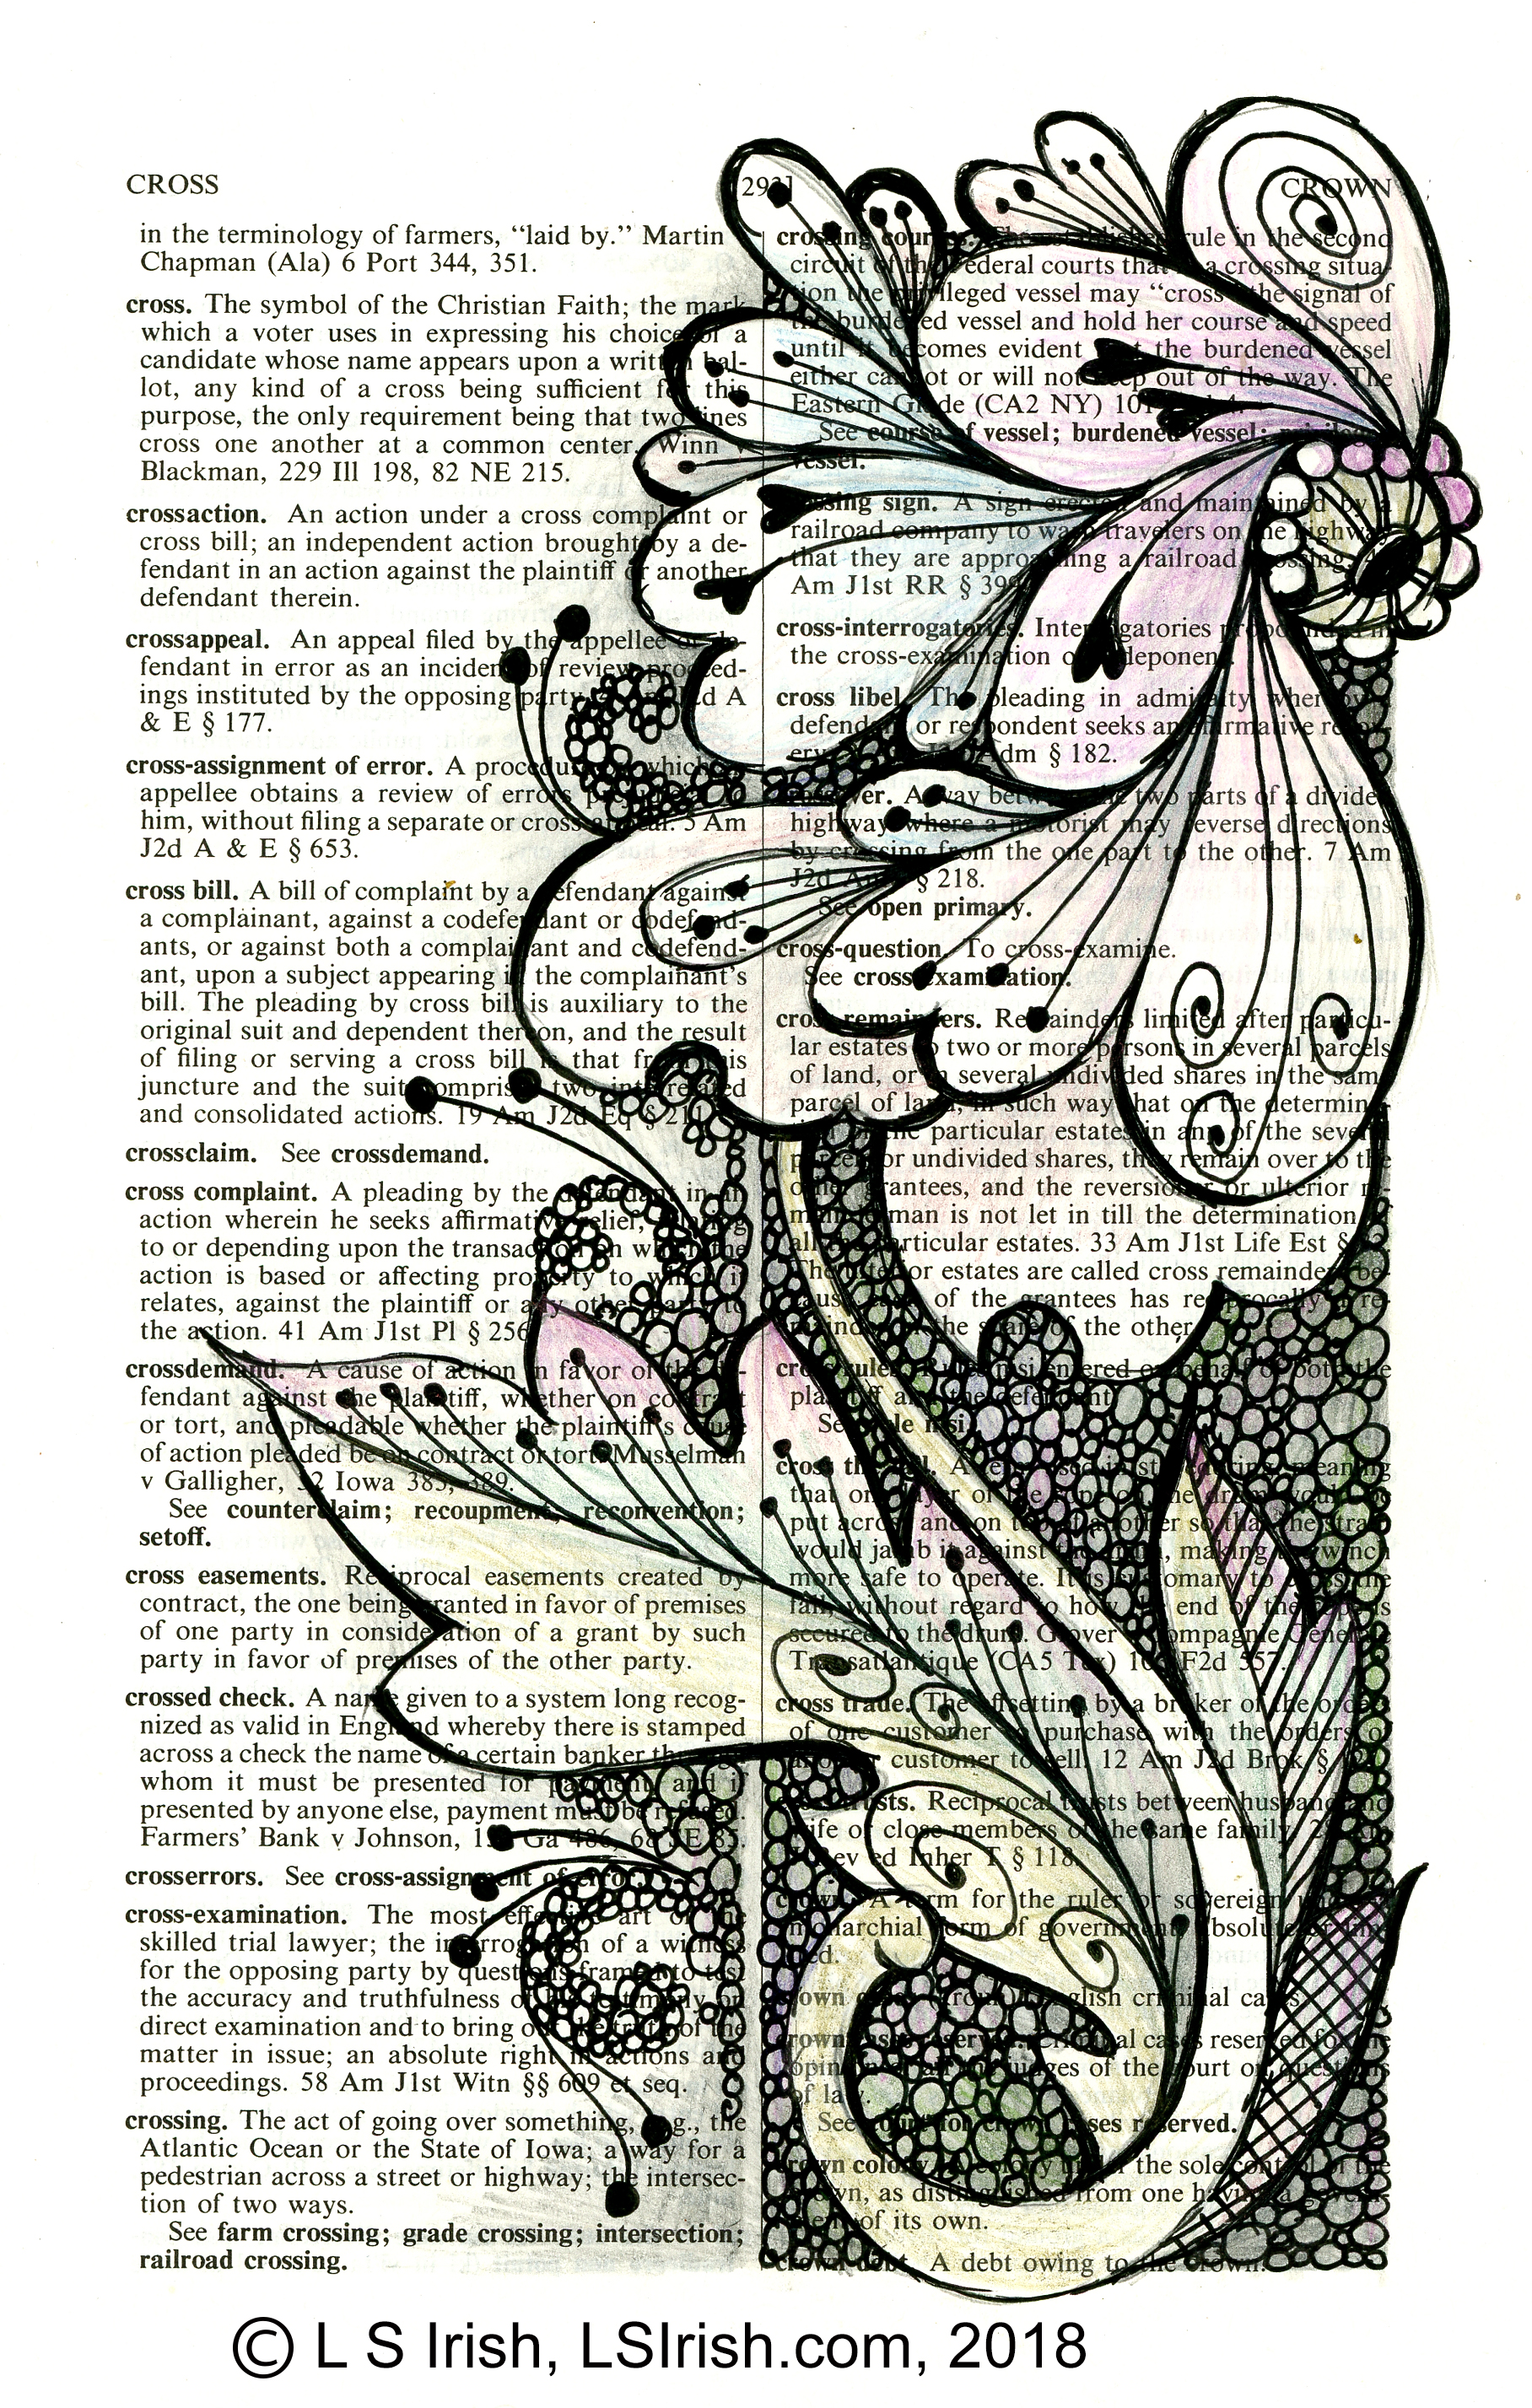
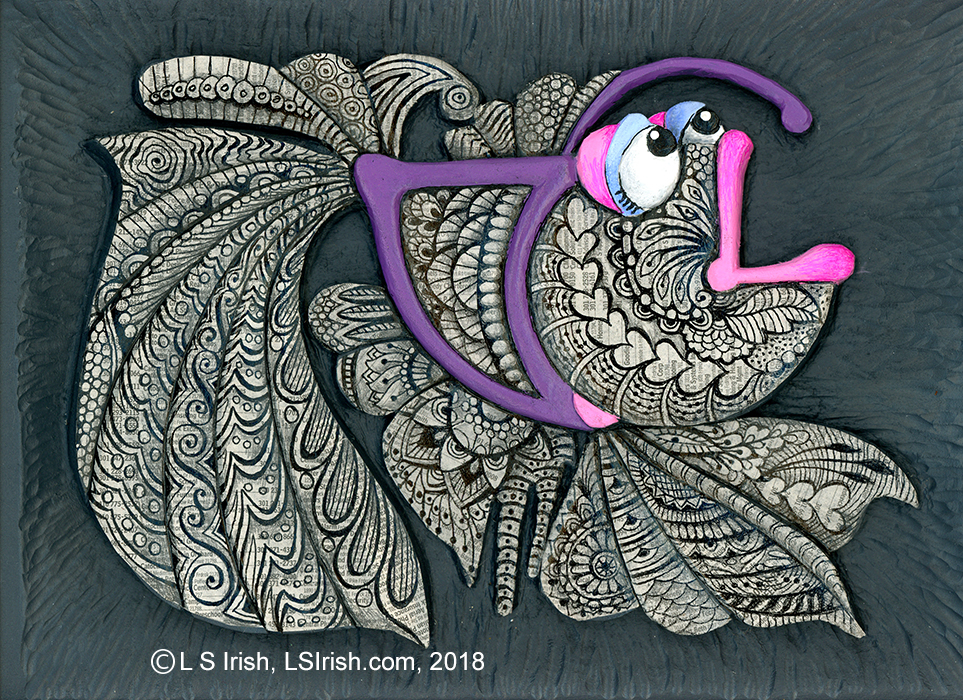
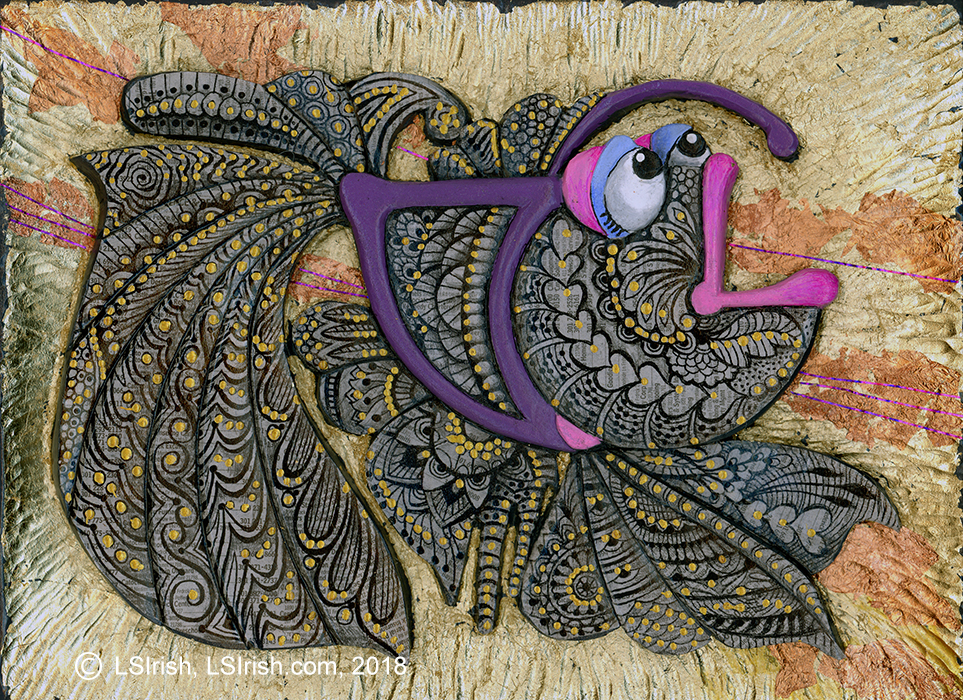
Altered Art is the fun of taking an item as an old book and re-purposing it as the base for your craft arts. The sample to the right is a pen and ink, pencil, and colored pencil drawing worked on the page of an old law dictionary.
A second interruption of altered art is when we cross-craft by combining multiple crafting skills to create a unique work. In this sample a relief carving becomes the base for decoupage, pen and ink designs, and even gold and copper gilding.
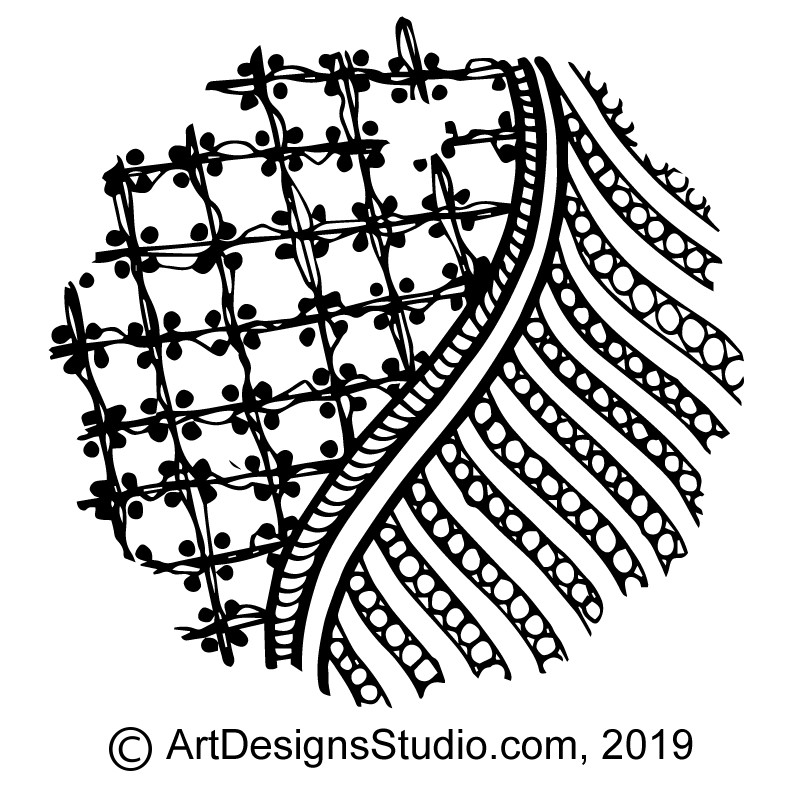
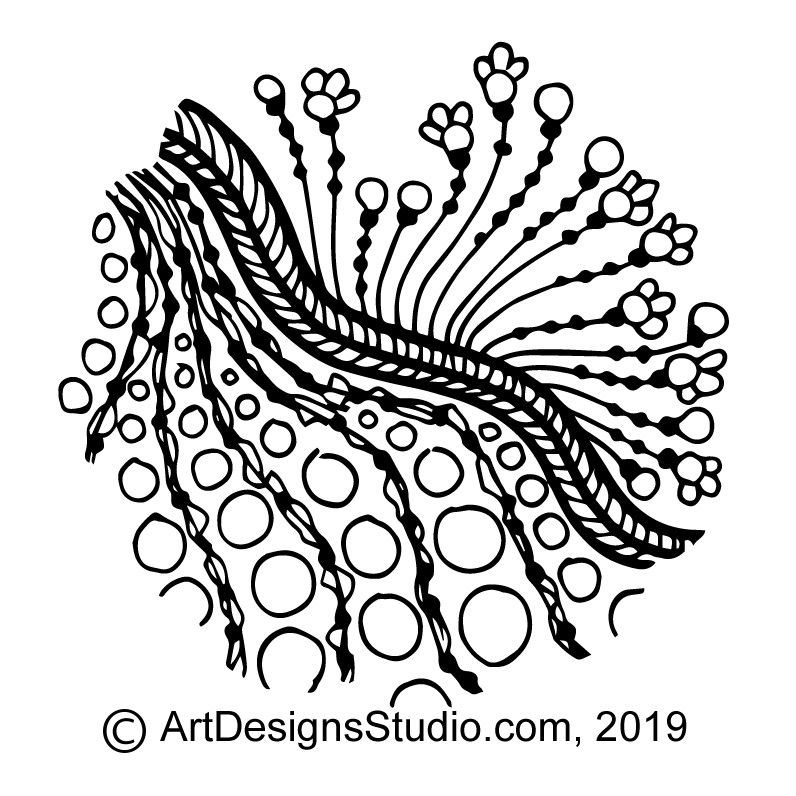
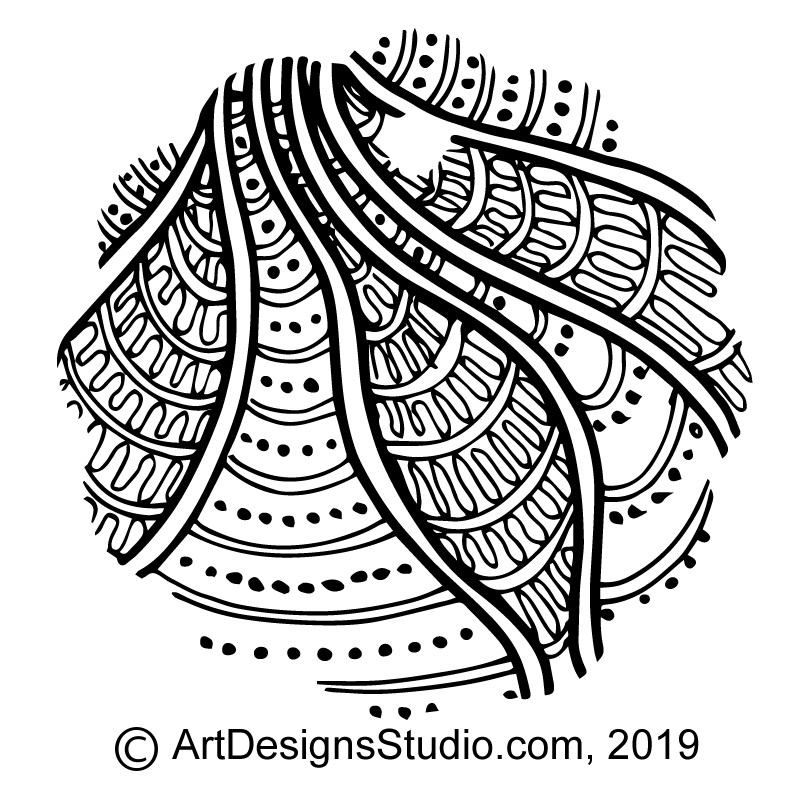
I love fill patterns, textures, and random designs as my shading strokes in pyrography. While you can, of course, use your shading tip, small repetitive patterns worked with your loop-tip or ball-tip burning pen fill an area easily, add interest, and can add tonal shading by working in layers of burning.
Today’s free doodle patterns show six quick and simple fill patterns. How many burn lines and how packed those burn lines are worked into one area will determine how pale or dark your shading becomes.
If you are new to downloading zip files, please read our step-by-step instructions. This is a text file that you click, open, and can print so that you have the instructions right in front of you as you download.
Here’s a free Lora Irish Pattern pack that you can learn, and practice downloading. Contains 11 full-sized, printable patterns of some of our favorite people.
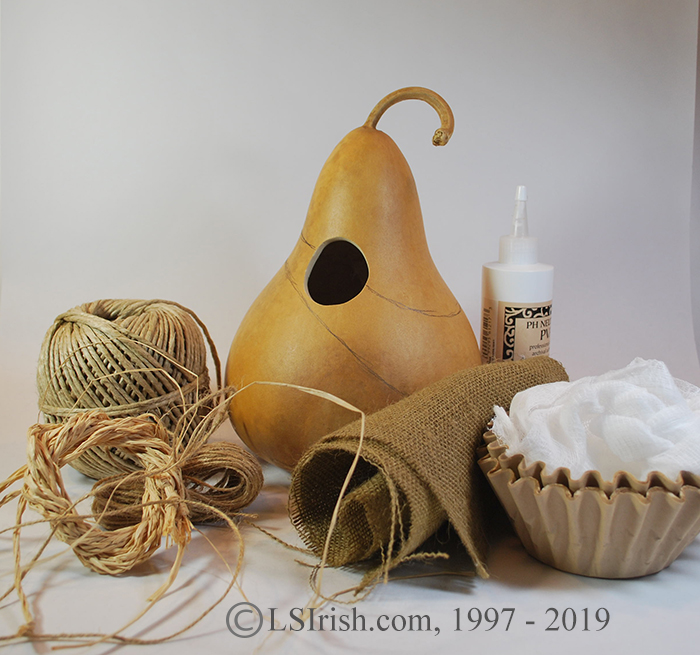
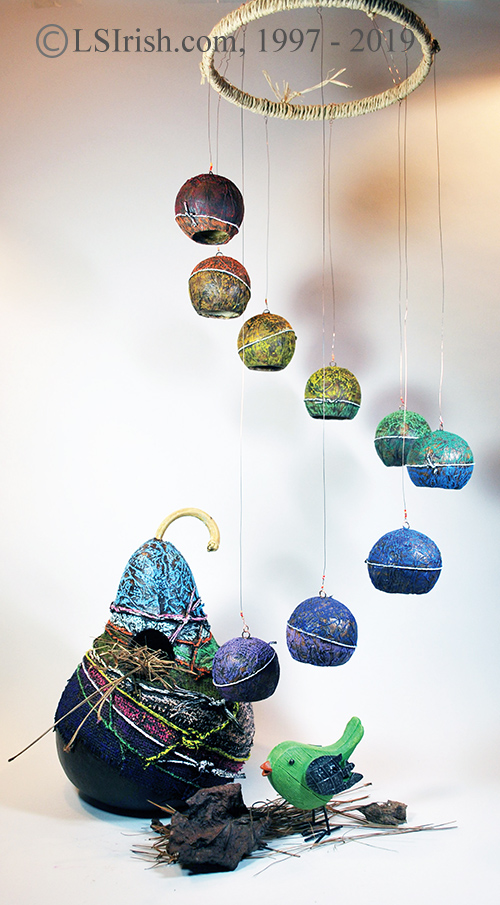
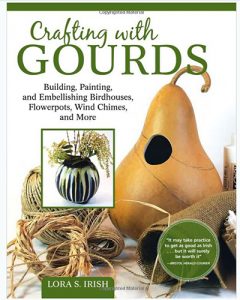
Sometimes I love being concise, careful, and controlled in my art … and then sometimes I just want to get down dirty, messy, slimy, anything goes, and hands-on. This String House is one of those ‘dirty up to the elbow’ fun projects from my newest book, Crafting with Gourds.
Introduction Any natural fiber material can easily be collage to the surface of your gourd using archival white water-based glue. This fun bird house uses paper coffee filters, cotton cheese cloth, burlap, garden twine, and cotton cord to create a riot of texture. When the collage work is dry we will use oil pastels to brightly color the high ridges of the texture.
Preparation Wash, clean, and cut a 10” high, 8” diameter, 23” circumference kettle gourd following the general preparation instructions.
Supplies 10” high, 8” diameter, 23” circumference kettle gourd #2 to #6 graphite pencil wax-coated paper cups archival white water-based glue plastic mixing spoon bowl of water for dipping large #6 to #12 square brush latex gloves coffee filters cheesecloth burlap assorted string, cords, and twine scissors
Acrylic craft paint dark brown – bird house black – mobile
set of 12 to 24 oil pastel sticks spray sealer
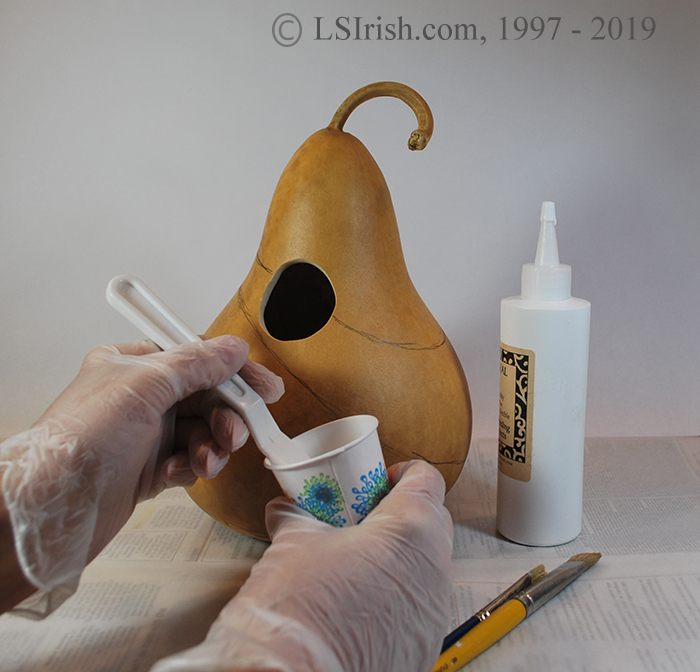
Step #1 Divide the gourd into three sections.
Divide the outside of your gourd house into three sections using a pencil to create the guidelines. The top section will be worked with coffee filters, the second section with cheesecloth, and the bottom section with burlap.
Step #2 Mix your glue
In a wax-coated paper cup mix three tablespoons of archival white water-based glue. Add one tablespoon of water, mix well.
Work the top section with coffee filters. Work one coffee filter at a time. Dip the filter into clean water, then wring out any the excess water. You want the filter damp, but not dripping.
Step #3 Gluing the coffee filters into place
Apply one coat of glue mix the top section. With a large square brush, apply one coat of the glue mix to the top section of your gourd. Place the filter onto the glue and press firmly with your brush.
Add more glue if needed. Apply more glue with your brush to the filter as necessary to secure the coffee filter into place. Use the palm of your hand to press the thickest wrinkles into place.
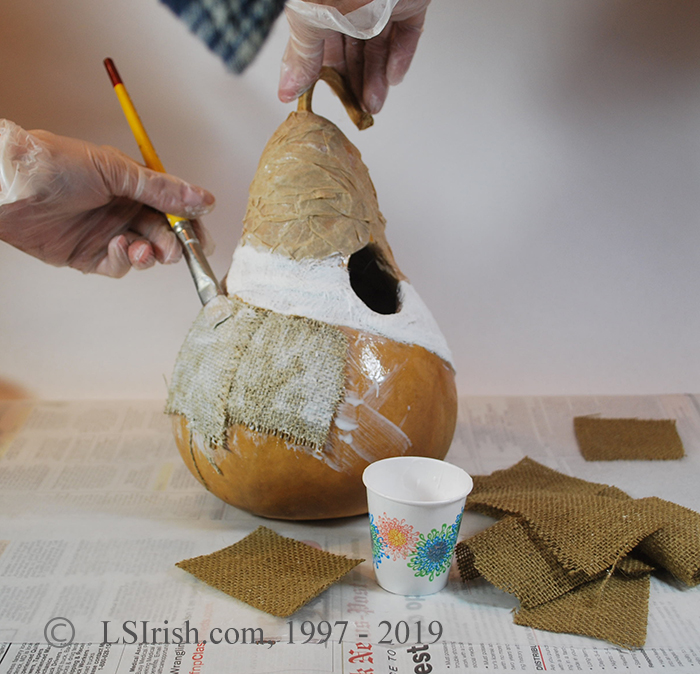
Step #4 Add the cheesecloth
Work the middle section with cheese cloth. Mix a second batch of archival white water-based glue if necessary. Cut your cheesecloth into small 3” to 4” squares. You can work several overlapping layers of cheesecloth at a time to increase the texture for this area.
Dip the cheesecloth squares in clean water, then blot well on paper towels. Brush a coat of the glue mixture to the central area of the gourd. Place several layers of cheesecloth onto the glued area and use your brush to press it into place.
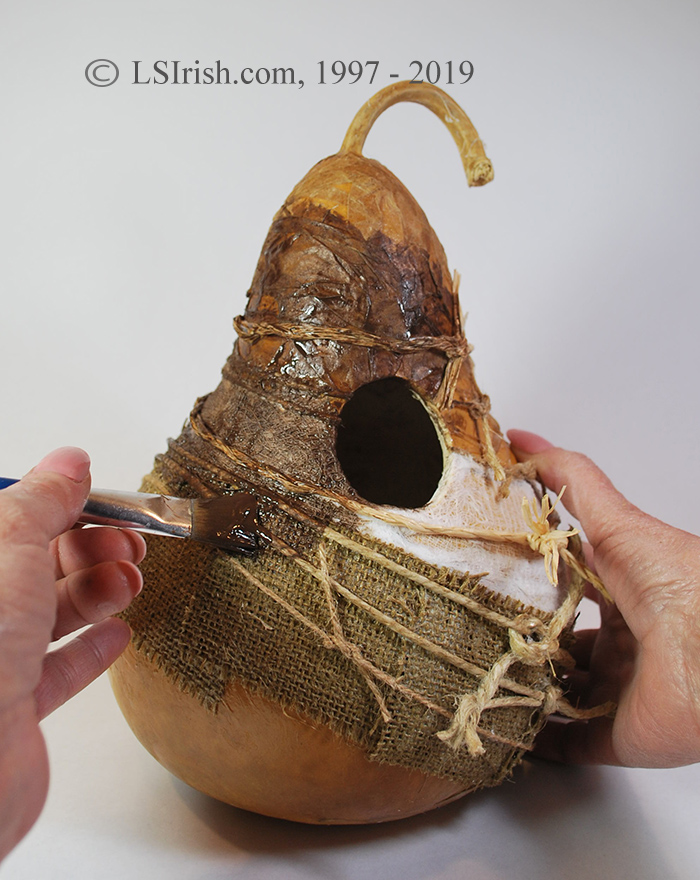
Step#5 Work the top half of the bottom section with burlap.
The bottom section of the gourd is covered with 3” squares of burlap. Dampen and blot the burlap pieces on a paper towel. Coat the bottom section of the gourd with your glue mix. Lay one piece of burlap onto the gourd and apply a second coat of glue mix over the burlap. Continue working along the pencil line for this section, overlapping each new burlap piece on the last piece applied. Work just one ring of burlap pieces along the bottom.
Step#6 Leave an area of the gourd un-worked.
Visual contrast is important when you want to artistically emphasize texture. The un-worked bottom area for this bird house gives your eye an area of smooth gourd surface to compare to the textures you have created.
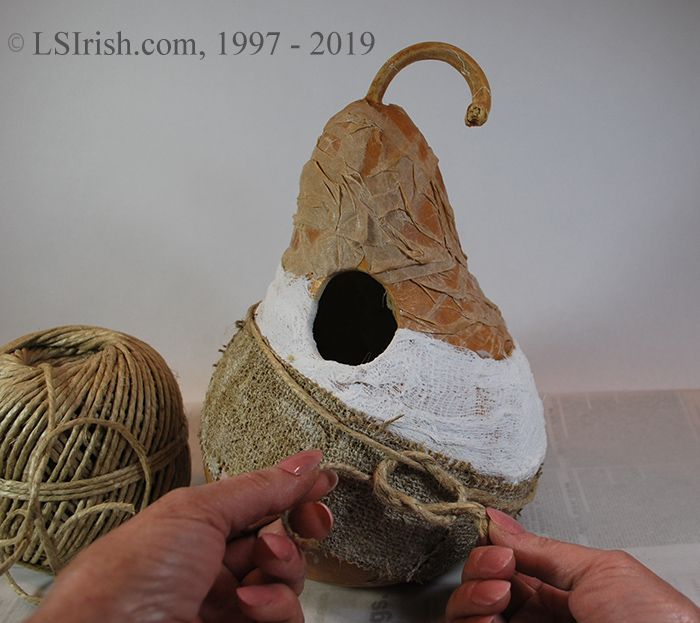
Step #7 Gather a variety of cotton and twin strings.
While you can use just one type of string, using a variety adds to the textured effect of this collage.Cut and tie a string at each intersection of the textures.
Lay a long piece of twine around your gourd. Move the twin to an intersection between two of your textured areas. Tie a square knot and cut the excess twine from the knot to about 1” long. Brush a generous coat of the glue mix to the twine to hold it into place. The twine wrapping does not have to fall exactly on the joint, let it fall where ever it may.
Let your strings go over the bird house hole as you add then. Glue the string, including that area that is over the hole. After the glue has dried overnight you can cut the small sections of the string that cover the hole without effecting the string at the hole sides.
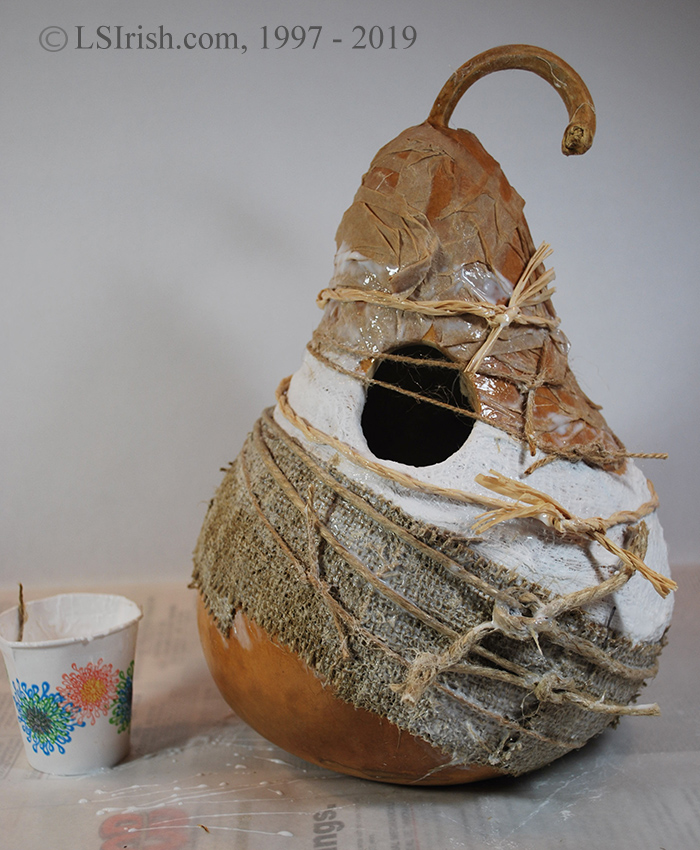
Step #8 Add one more, even coat of glue mix.
Let your gourd dry for about an hour, then apply one more glue and water mix to all of the textured areas. Dry overnight. Even though the glue is well dried it will have a slightly tacky feeling to the surface. This will diminish with the spray sealer step at the end of the project.
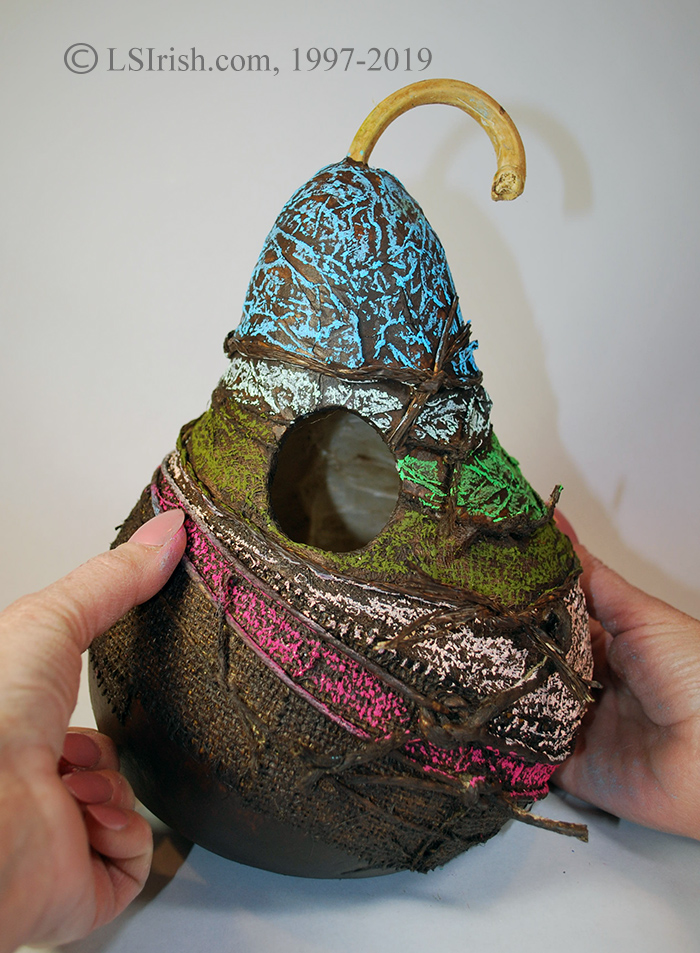
Apply one to two coats of burnt umber brown or black acrylic paint to the entire surface of the decoupaged gourd. This creates a dark background for the color that will lie on the high texture in the next step.
Step #9 Playing with oil pastels.
Oil pastels are ground pigment that is compressed in an oil-based stick. They are available in set that have a full color range.
Using one oil pastel stick at a time, rub your pastel over one of the textured areas. The pastel will adhere to just the highest areas of your texture, leaving the deep areas in the dark brown paint.
Although not shown in this project you can blend oil pastels by laying one color over another lightly. This lets a little of both colors show and creates the new blended color.
You can clean off any pastel color that has gotten into the next area by rubbing the area with your fingers.
Step #10 Apply oil pastel to the strings.
Use contrasting colors for your strings by rubbing the oil stick along the top edge of the string.
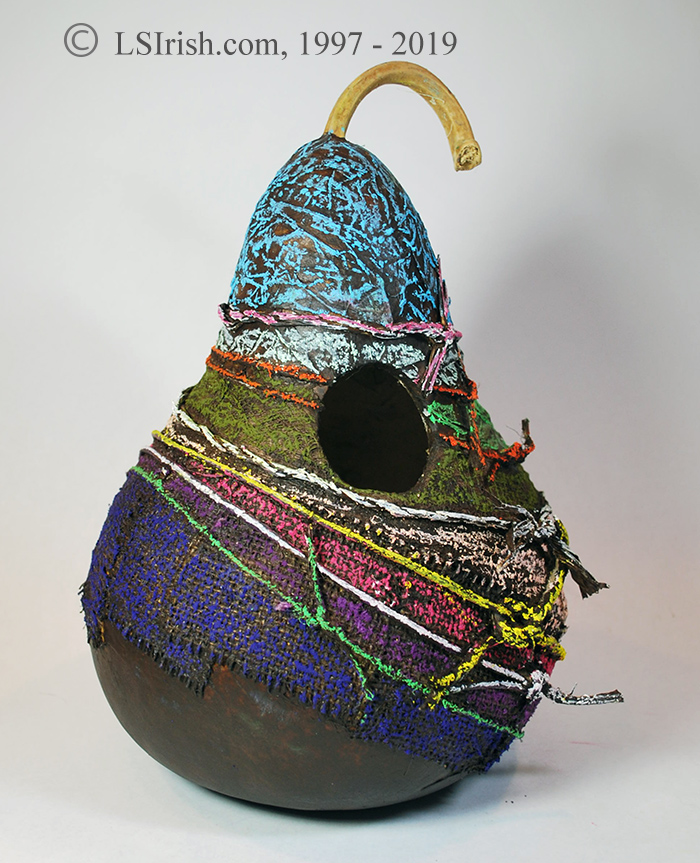
Finish this bird house with two to three light coats of spray sealer.
Step #11 Making a wind chime Shown in the top photo
If you are a pyrographer and a journalist you will have fun working today’s projects. We have been exploring the Artist’s Morgue File this week and our habit as artists to keep stacks, folders, and file boxes of scrap paper or digital images that spark our imagination.
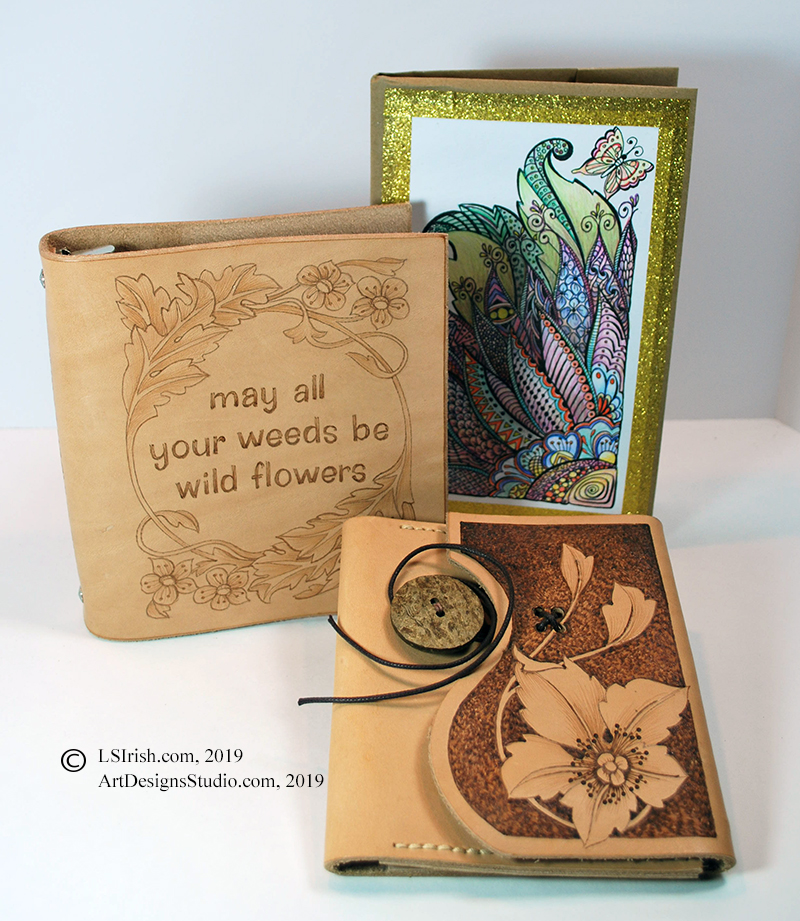
Handmade, DIY Leather Journals are a great way to organize those little bits of inspiration. Your front and back leather cover make a great media for your pyrography, the pages can be made with bullet journal pages, watercolor paper, or scrapbook paper. Since the journal uses an easy lacing pattern, worked with twine or raffia, it is easy to open and refill the pages of your journal at any time.
The front two leather DIY Artist Journal patterns are available in the Great Book of Celtic Patterns, available on Amazon.com. The back journal is worked on chipboard, covered with scrap paper, watercolor paper, and glitter tape. It is a kettle stitched bound book.
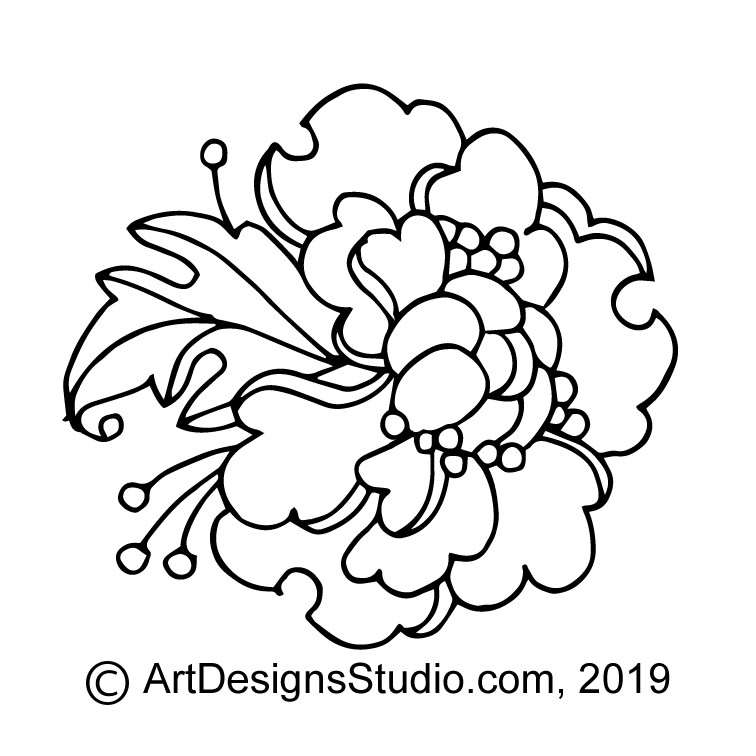
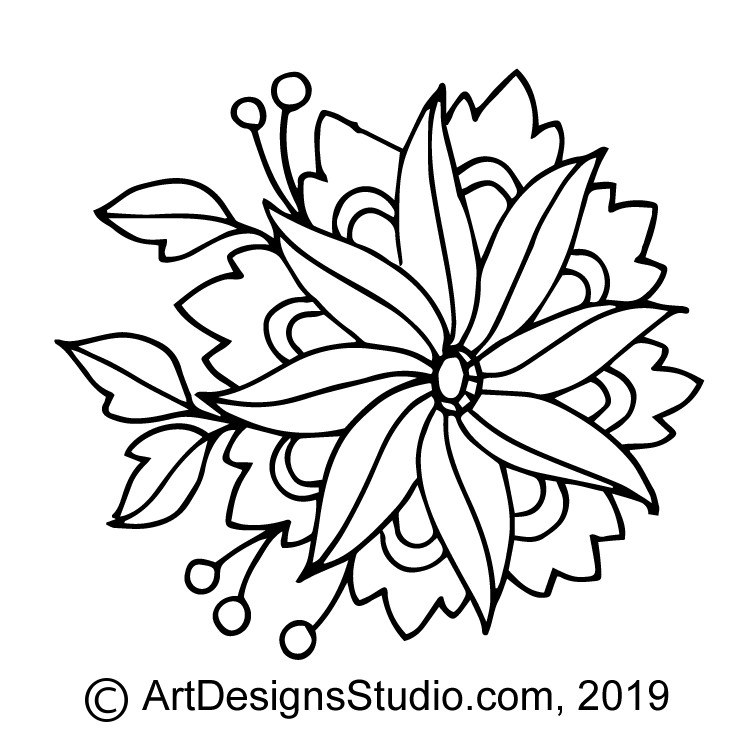
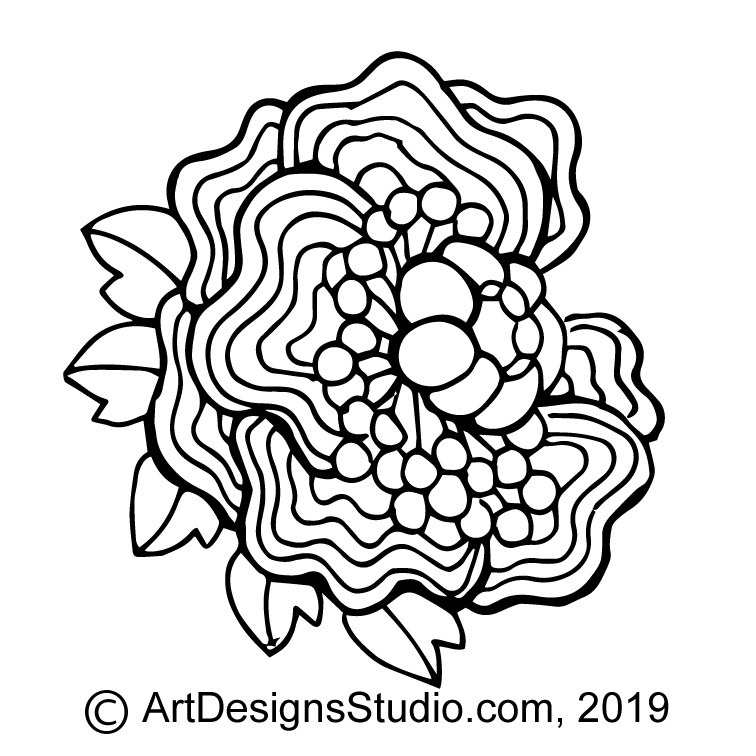
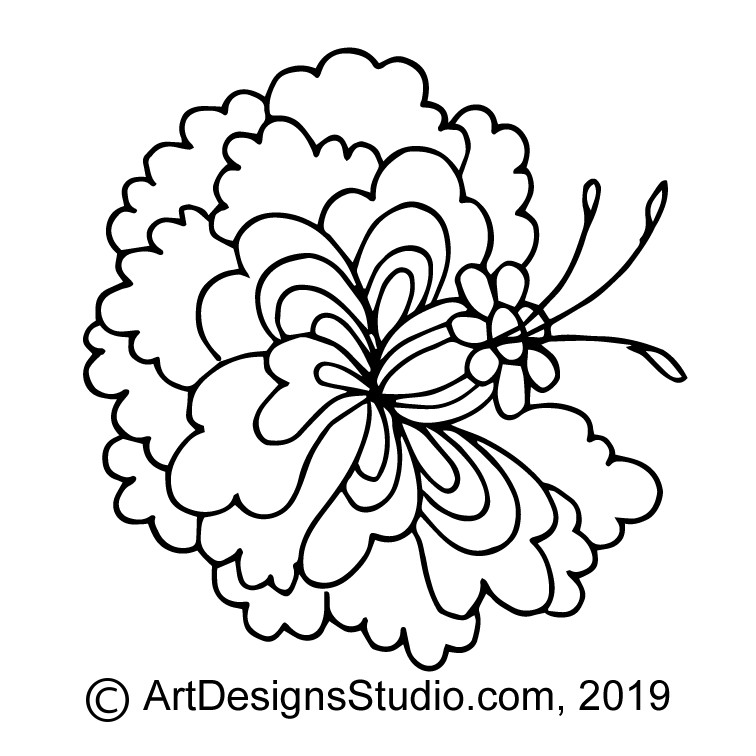
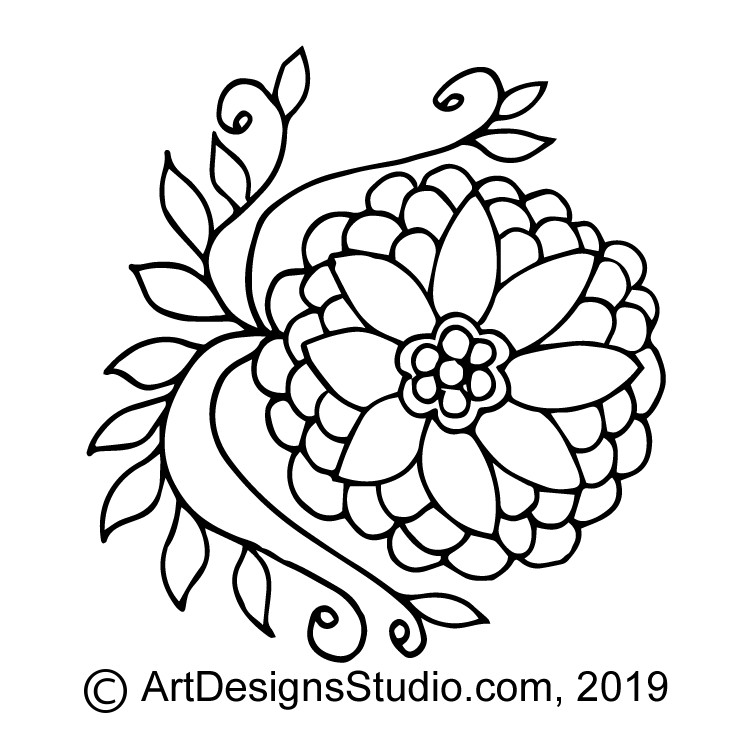
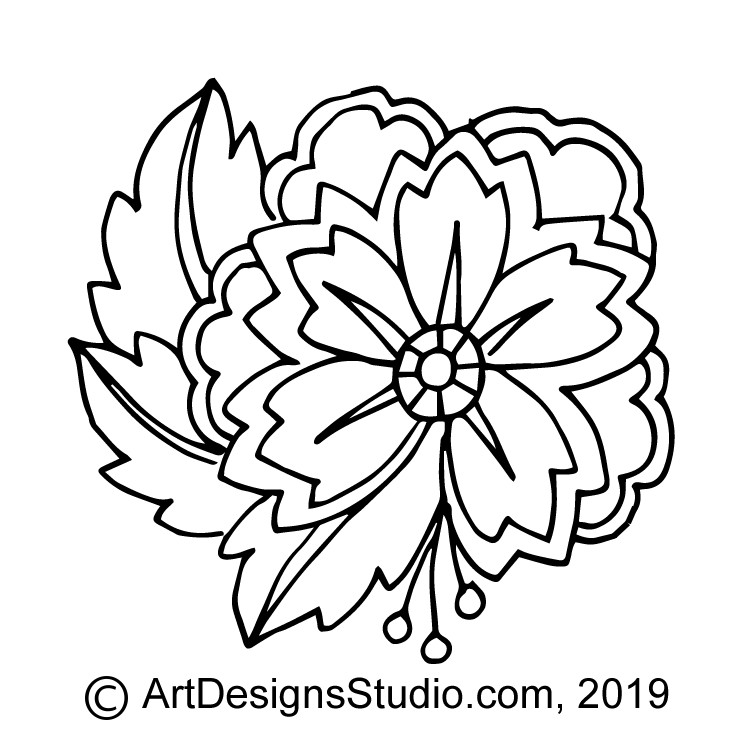
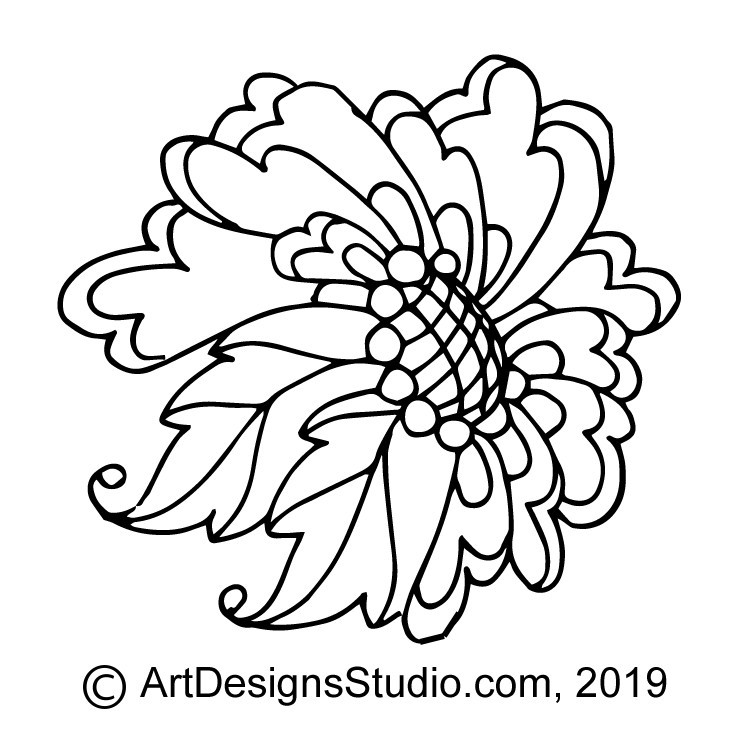
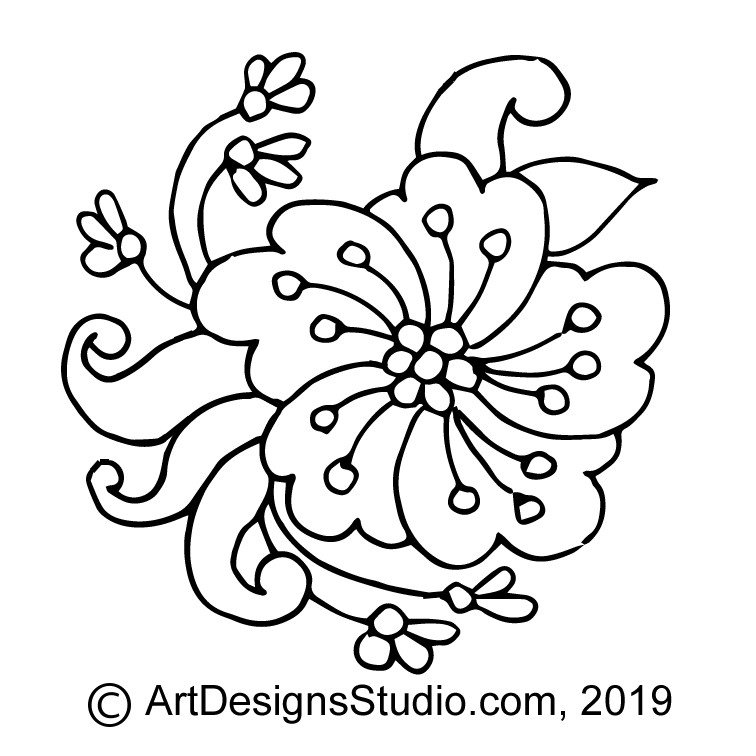
And here are two more free doodle patterns –
Free Doodle Pattern 011Free Doodle Pattern 012
By now you should have 11 free Lora S. Irish patterns stashed away in your craft folder on your desktop. Three from Day #1, three from Day #2, and five for today. See you on Monday, Jan 6th with more …
Bullet Journals let you keep track of your day to day activities and to add personal notes, shopping lists, and appointment calendars. The pages are worked on a dot grid pattern which is used as your guide to create your tables, lists, and highlighted comments.
Bullet Journal Blank Page
This basic bullet journal page will print on an 8 1/2″ x 11″ sheet of paper. When folded it creates two facing printed dot grid pages. You can print several copies of this bullet journal page. Then put those pages back into your printer tray, face up so that you see the printed grid, and then printed a second time to create the dot grid on the back of your paper.
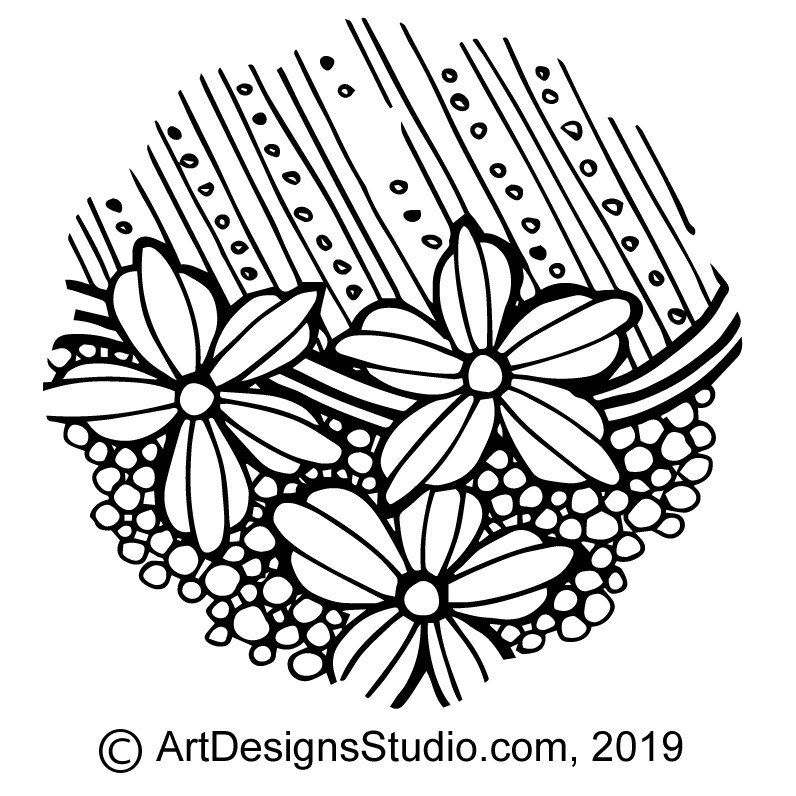
Free Doodle Pattern 008
Click on the image, right, to open a full-sized copy in a new window. Right hand click on the image and chose ‘save image’ to keep a copy on your computer for easy printing. This page is pre-set to print in portrait mode, no adjustment is needed.
The Stapled Bookbinding link, below, shows you how to take multiple printed pages and staple them into a small booklet.
Bullet Journal Header PageBullet Journal List PageBullet Journal Design Page
Here are a few samples of DIY Hand Bound Bullet Journal, decorated with scrap booking paper, a watercolor paper design, paper twist strings, a few glass beads, and worked with leather covers. Stop by tomorrow for the links to how to design, burn, and bind your own leather journal.
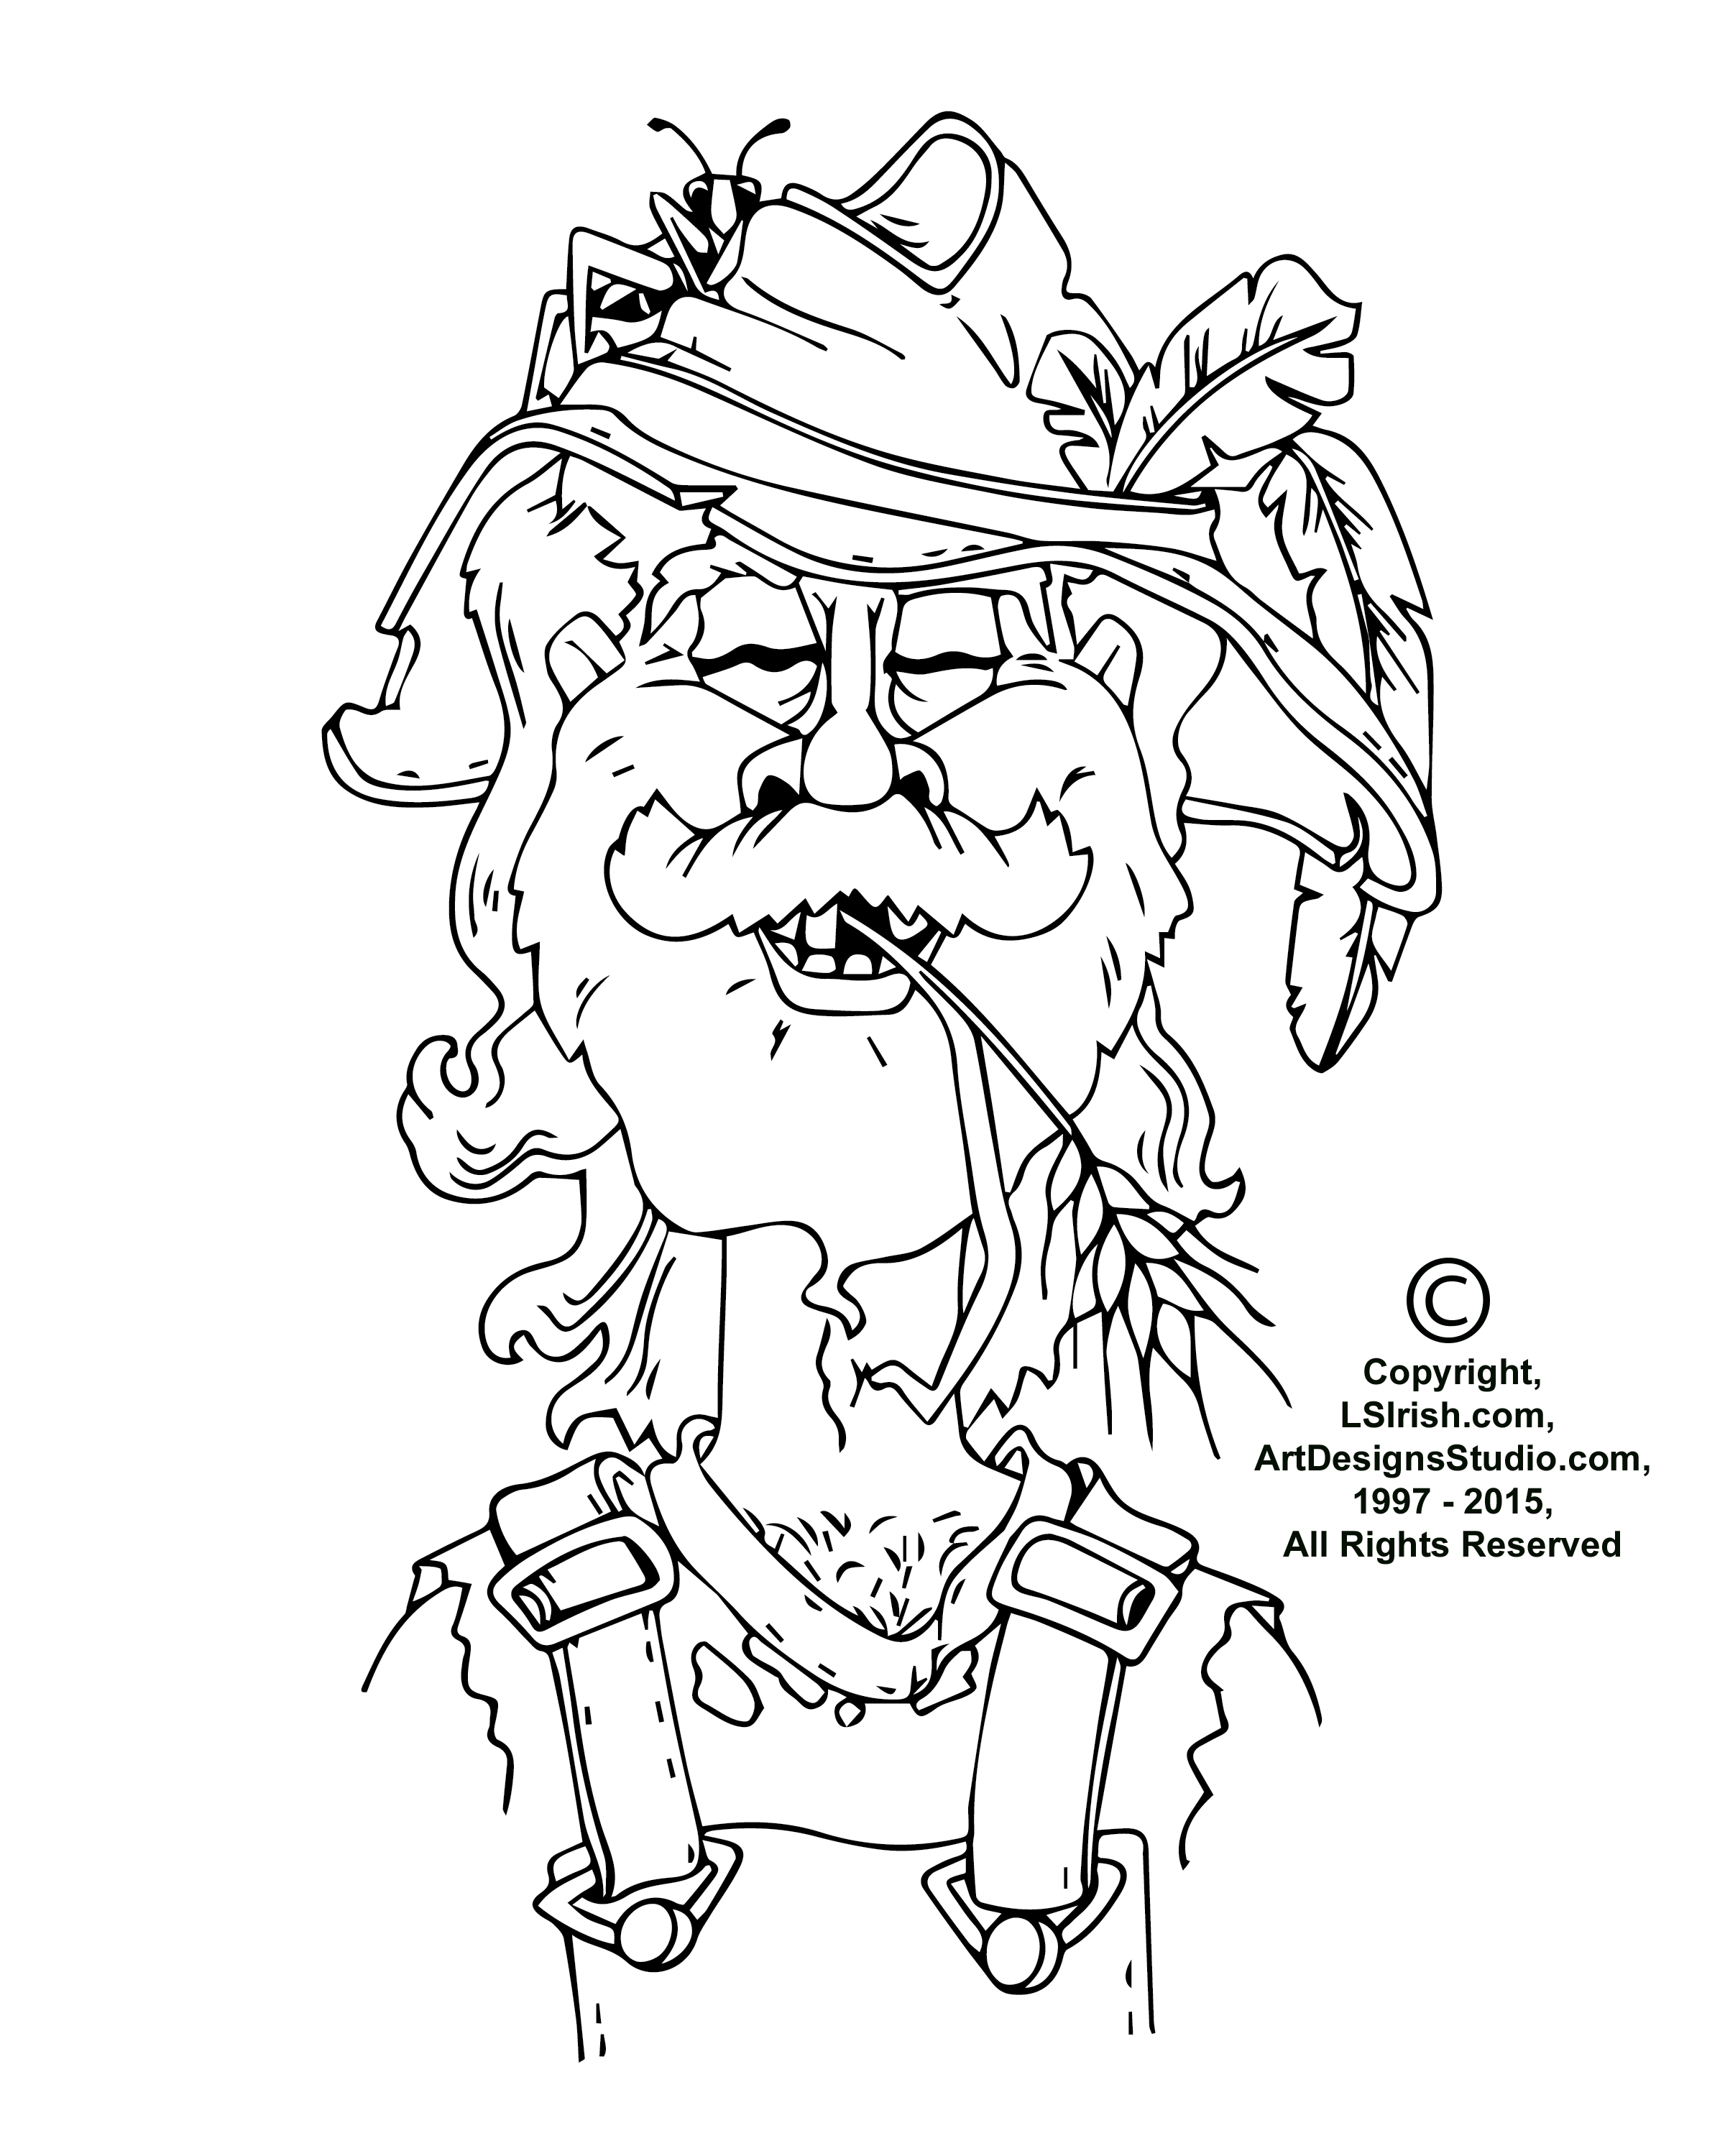
The patterns for the large background dragon journal, and the small Celtic journal, front left, are available in the Great Book of Celtic Patterns, available on Amazon.com. The Greenman Journal, front right, is a free project here on LSIrish.com.
Free Doodle Pattern 009
Stop by Reddit/r/bulletjournal to discover a fun community of journalist that share lots and lots of ideas.
If you haven’t played with bookbinding yet, these links will get you stared.
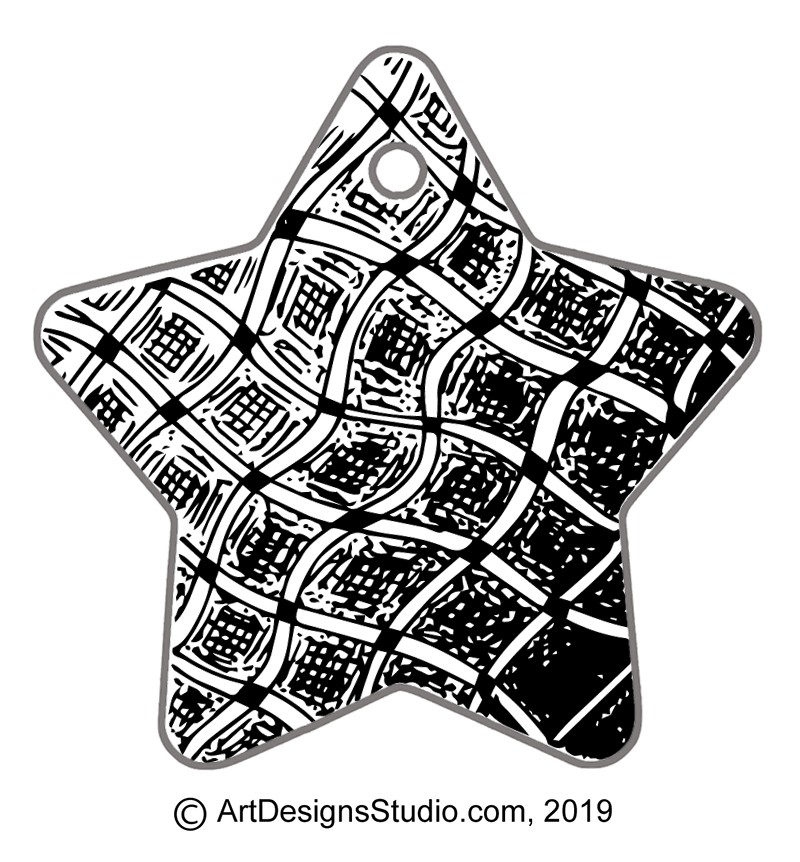
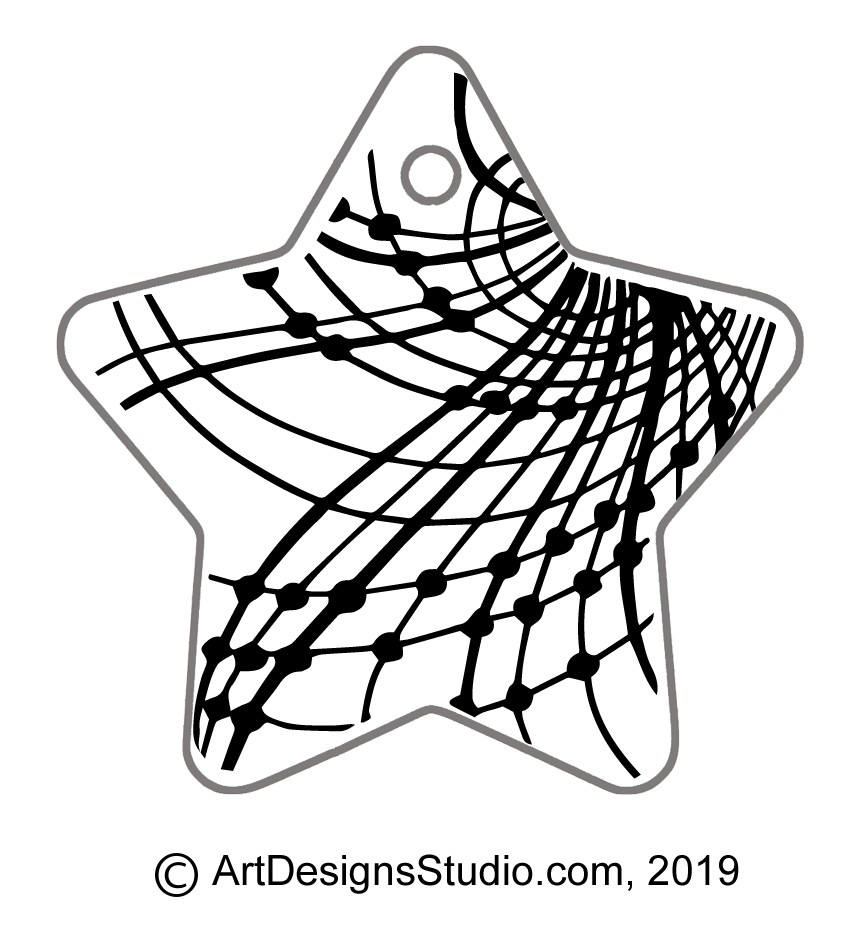
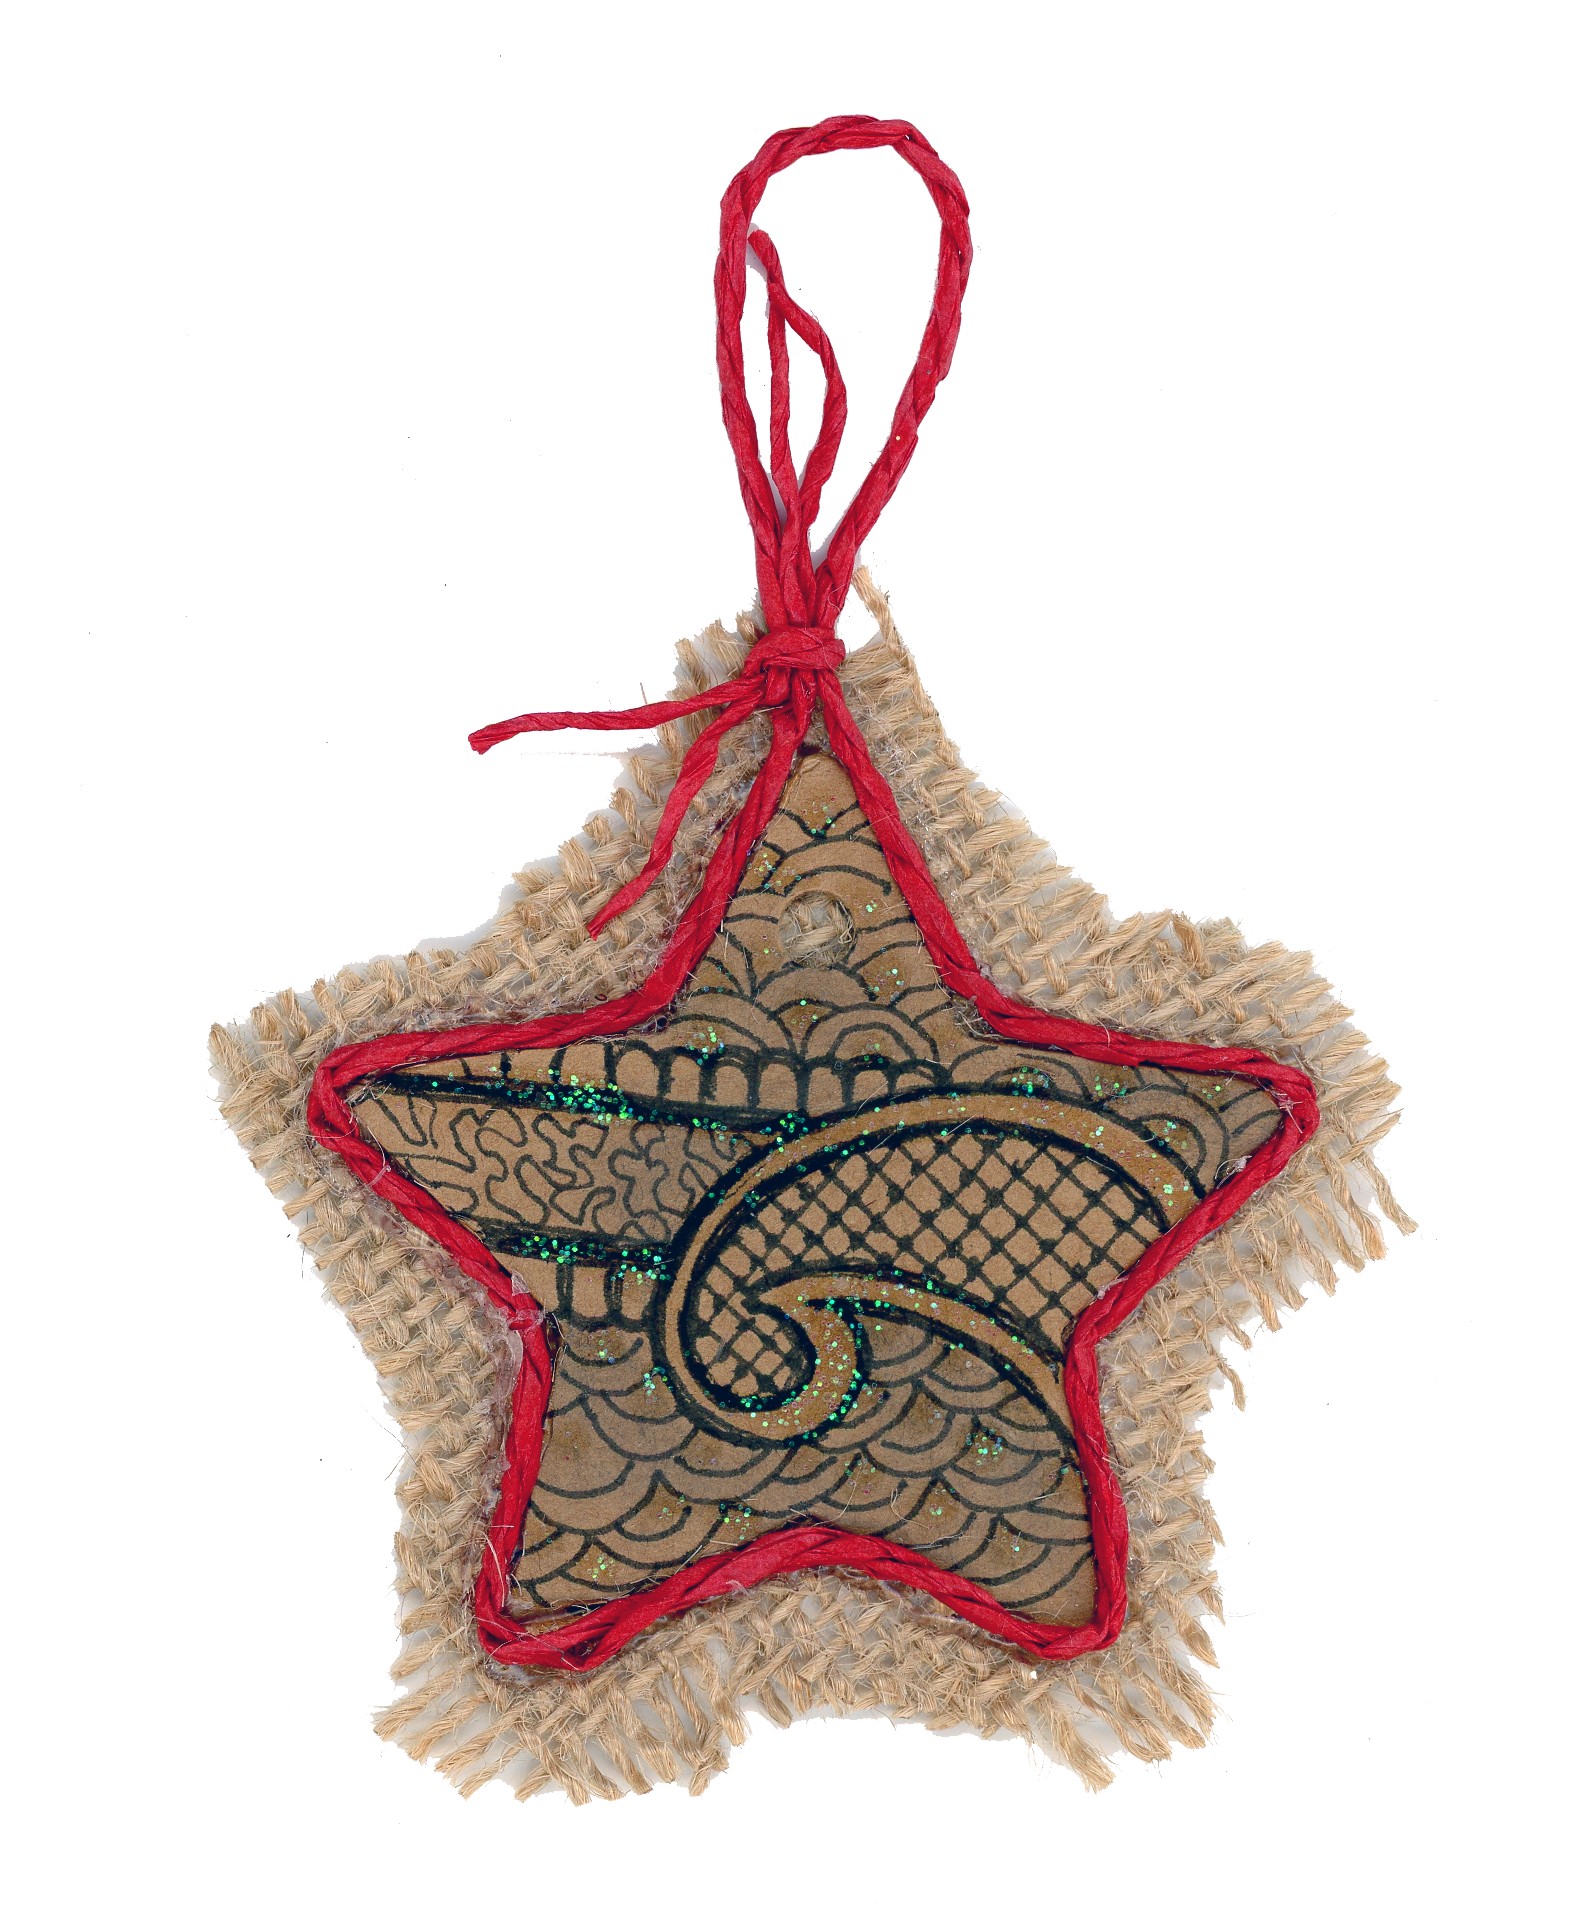
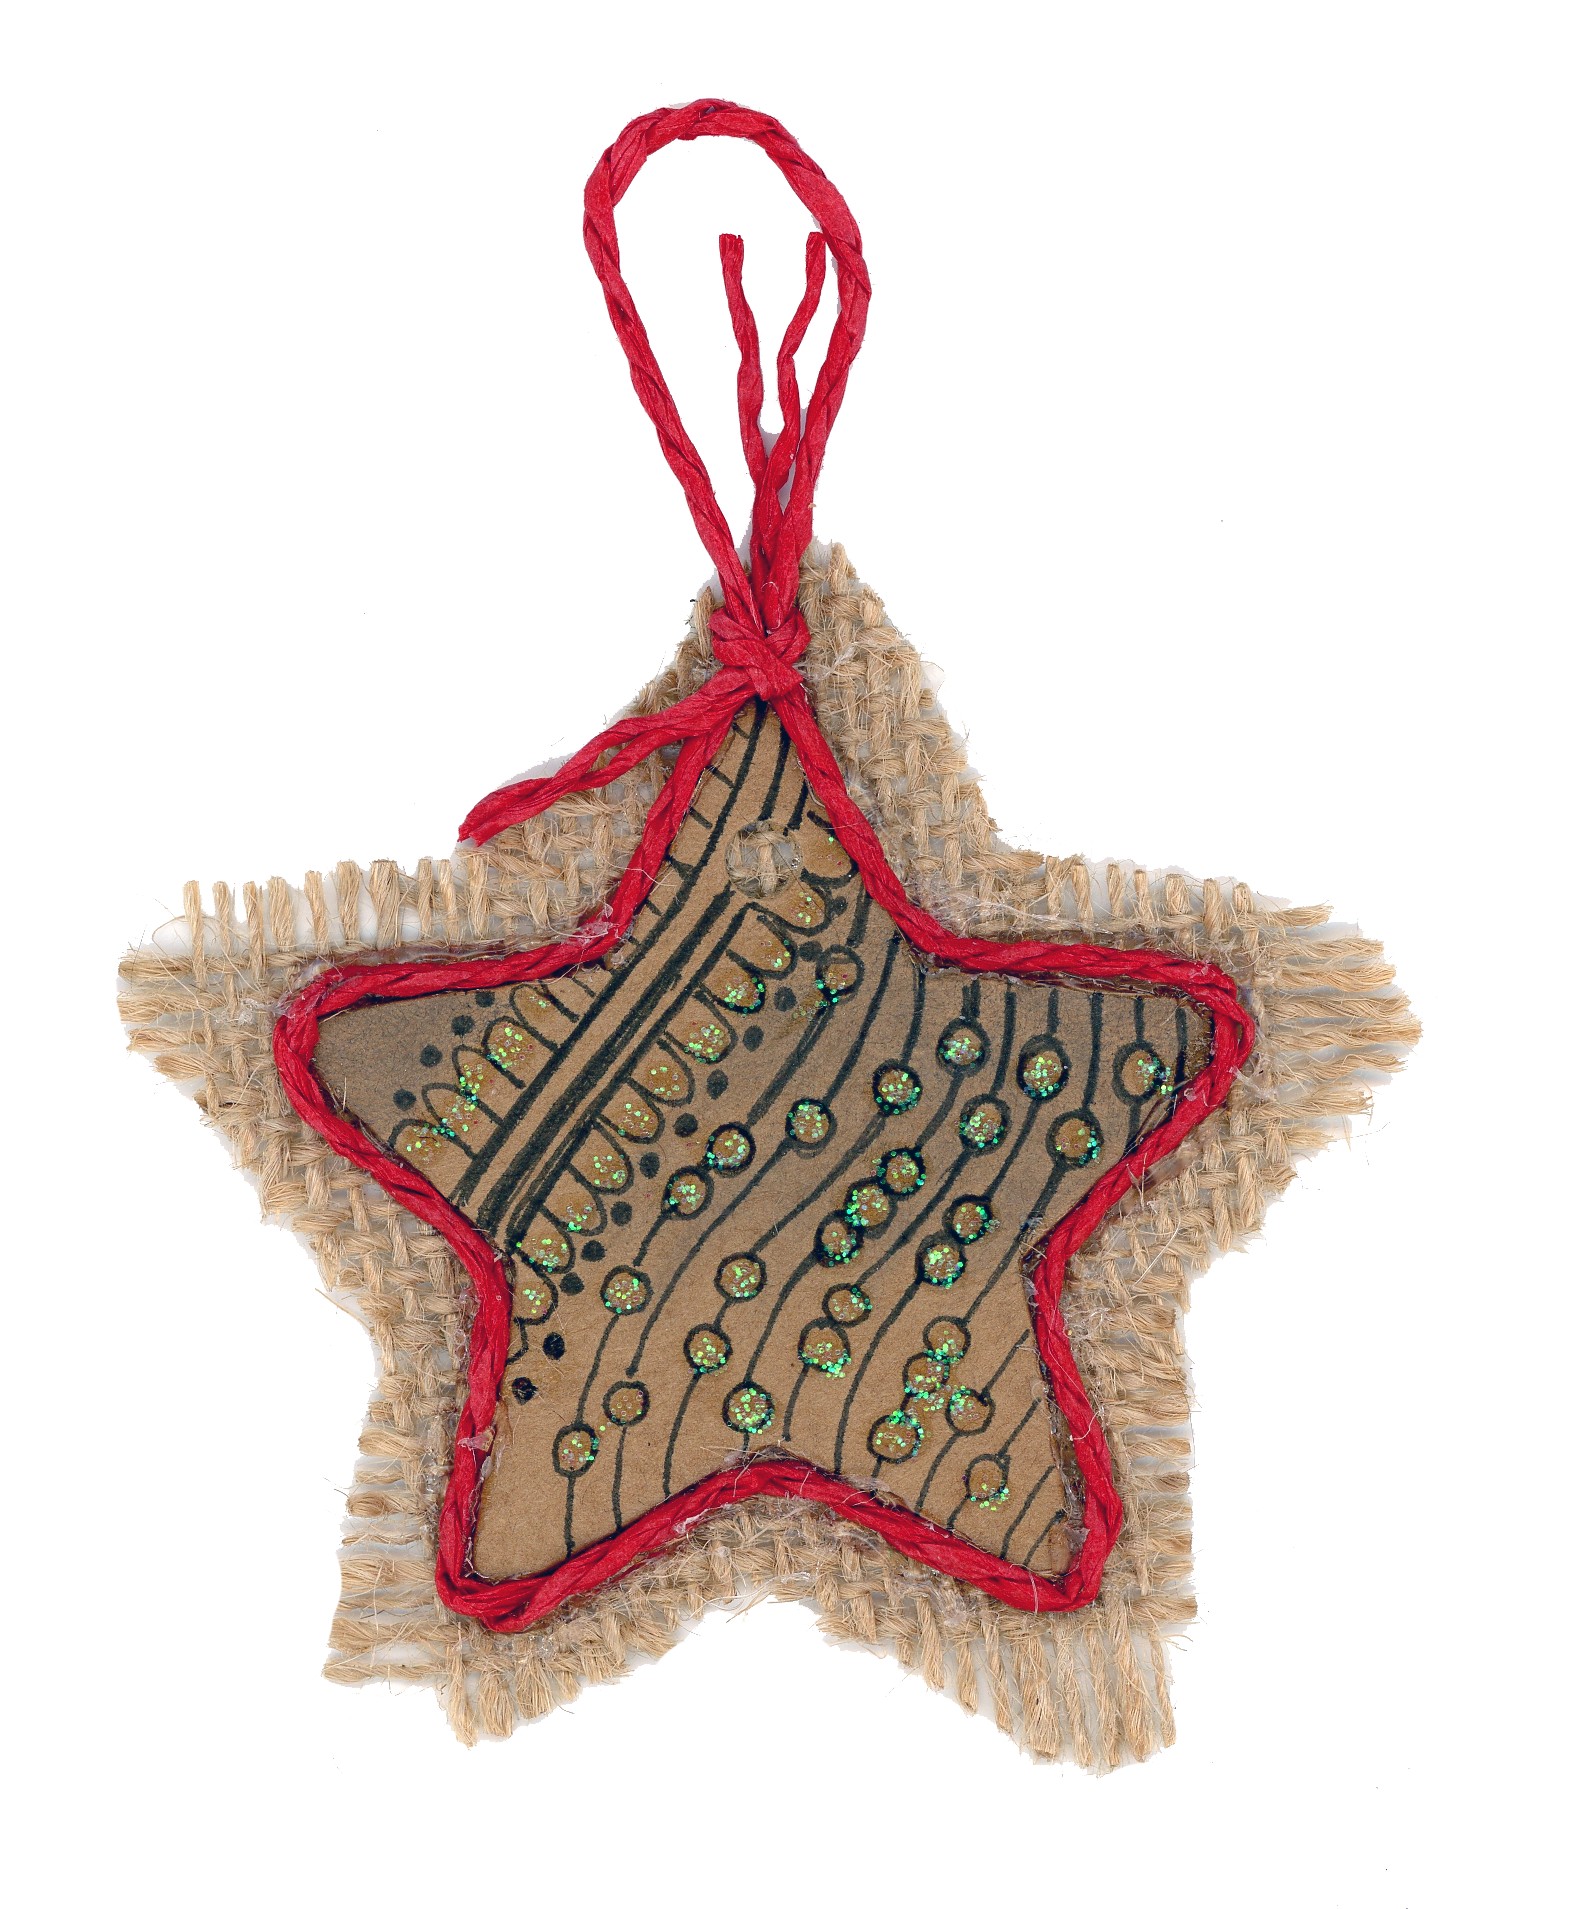
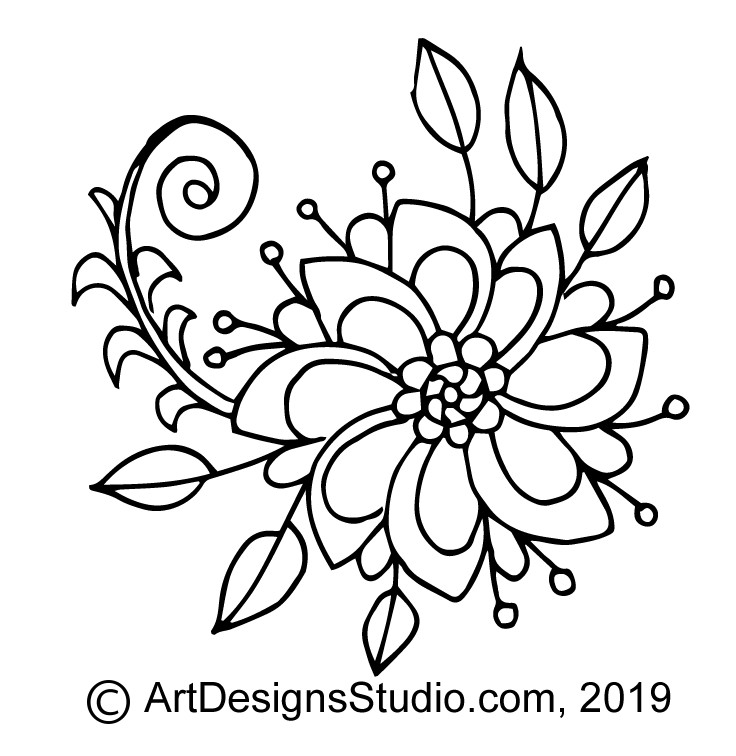
Step 1: You can trace one of the free doodle patterns that I will be posting this month onto your kraft star tag. Begin by printing a copy of the pattern. Cut out the pattern, allowing about 1/4″ to 3/8″ margins. Rub a Soft, #2 to #4 pencil, all over the back of the pattern paper. Lay the pattern, face up, onto your star. With the soft pencil trace along the outlines. When you lift the pattern paper, the graphite from the pencil rubbing will leave a grey trace line on the kraft tag.
After you have finished the pen and ink work and adding any coloring, and allowed the ink to dry well, use a document cleaning pad to erase any remaining graphite lines from your star tag.
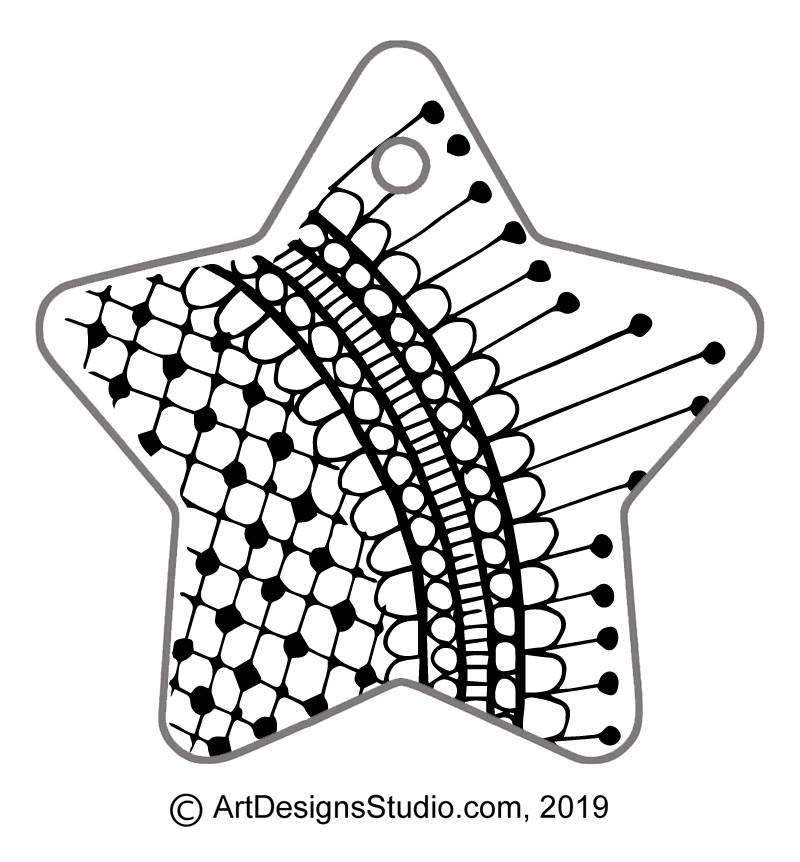
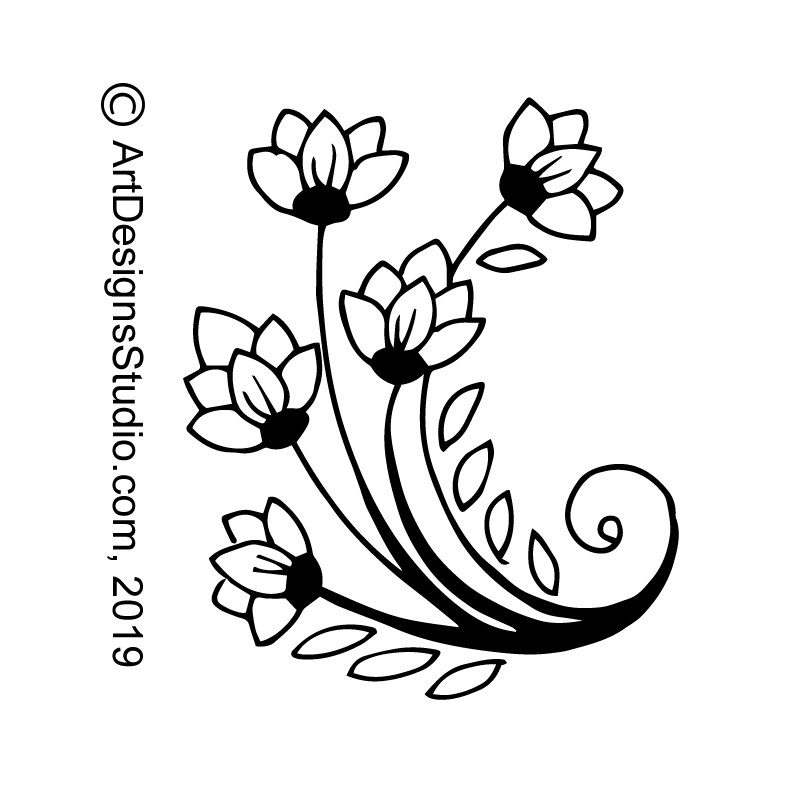
Free Doodle Pattern 004
Step 2: Use the fine point, black marking pen to create the lines of your doodle design. Rework some areas of the lines with a second layer of black pen to create a ‘thick and thin’ effect – this adds interest to the line work. Let the pen ink dry for at least 10 minutes before you begin the coloring steps.
Step 3: Clean the tag with your document cleaning pad by gently rubbing the pad over the tag. The pad is filled with finely ground eraser particles and will neatly clean any remaining graphite marks.
Step 4: Add any coloring that you want using the gel pens. You can also use colored marking pens, colored pencils, and even watercolor paint to accent the doodle pattern with just a touch of bright color. Allow to dry.
Step 5: Using acrylic glue, apply one line of glue along the edge of the star tag on the back side of the tag. Lay the tag onto the burlap ribbon. Weight the tag down against the ribbon with a heavy book. Allow to dry for at least one-half hour.
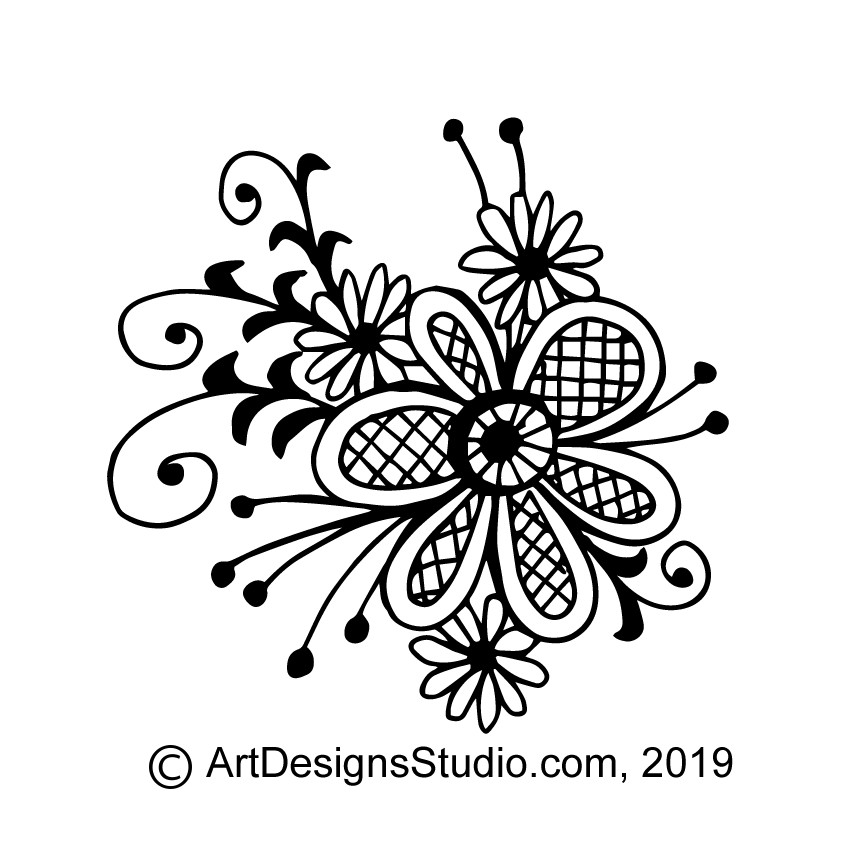
Free Doodle Pattern 005
Step 6: Cut the burlap 1/4″ to 3/8″ away from the edge of the star tag to create a fabric frame. You can tease a few strands of burlap off to make a ragged edge. Turn the burlap-back tag face down onto a piece of wax paper. Run a thin line of acrylic glue along the outer edge of the burlap to stop any further raveling of the fibers. Let the glue dry for at least one-half hour.
Step 7: Run a thin line of hot glue along the outer edge of the tag, on the burlap back. Begin by allowing a 4″ tail of paper twine string before you begin gluing. Gently press your paper twin string onto the glue. This covers the joint line between the tag and burlap, while framing the tag area. Work one straight side of the star tag at a time. This will let you easily make the sharp inside corners crisp. Cut the paper twine string 4″ away from the tag, when you have glue the entire outer edge of the tag. Tie the two paper twine ends together, once close to the tag and once at the end of the strings to create your hanging loop.
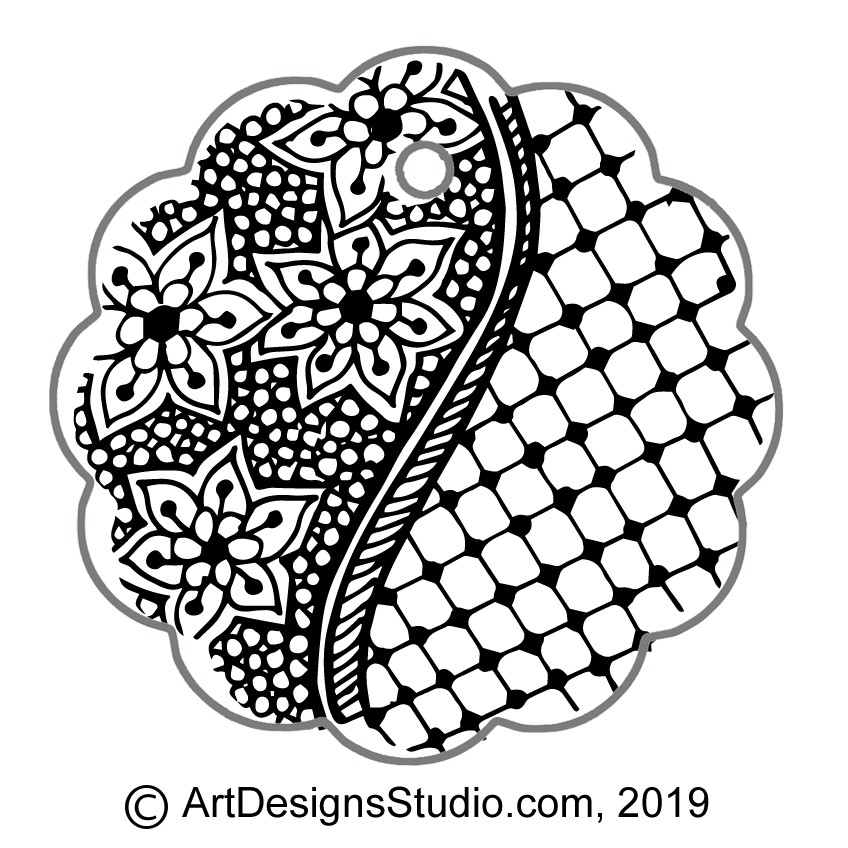
Free Doodle pattern 006
Step 8: To add that extra holiday sparkle, use glitter glue in the design area. Let the glitter glue dry completely and your star tag is ready to hand.
Artist’s Morgue File: A folder, cardboard box, drawer, or stack of collected ideas, inspirations, and ‘someday’ projects that an artist accumulates over a lifetime of crafting.
Jan. 1st, 2019 – Goal for this month is to post two to three small, free patterns each working day of the month that you can use with your favorite craft. The theme for January is Doodle Designs.
I must have a dozen large cardboard boxes of scrap paper torn from magazines, newspaper ads, and even old books that I have saved over the years as inspirational ideas – just something to spark a new project.
There must be a ton of doodles. Lots and lots of little, tiny, small designs that stand alone as a quick accent in so many crafts. Doodles created using my scrap papers as the inspiration for my own designs.
I won’t even guess how many digital files are stored on my external hard drive for the same reason.
Sometimes those pictures show an interesting layout pattern, perhaps a unique line divider, or even a color combination that really caught my eye.
Free Doodle Pattern 001
That hoard of scrap ideas even has a technical name – its an Artist’s Morgue File.
Because my morgue file is over 30 years in the making, and spread out everywhere in the studio, shop, and in my storage boxes, I thought as a goal for 2019 that I would start converting those ideas into some type of organization.
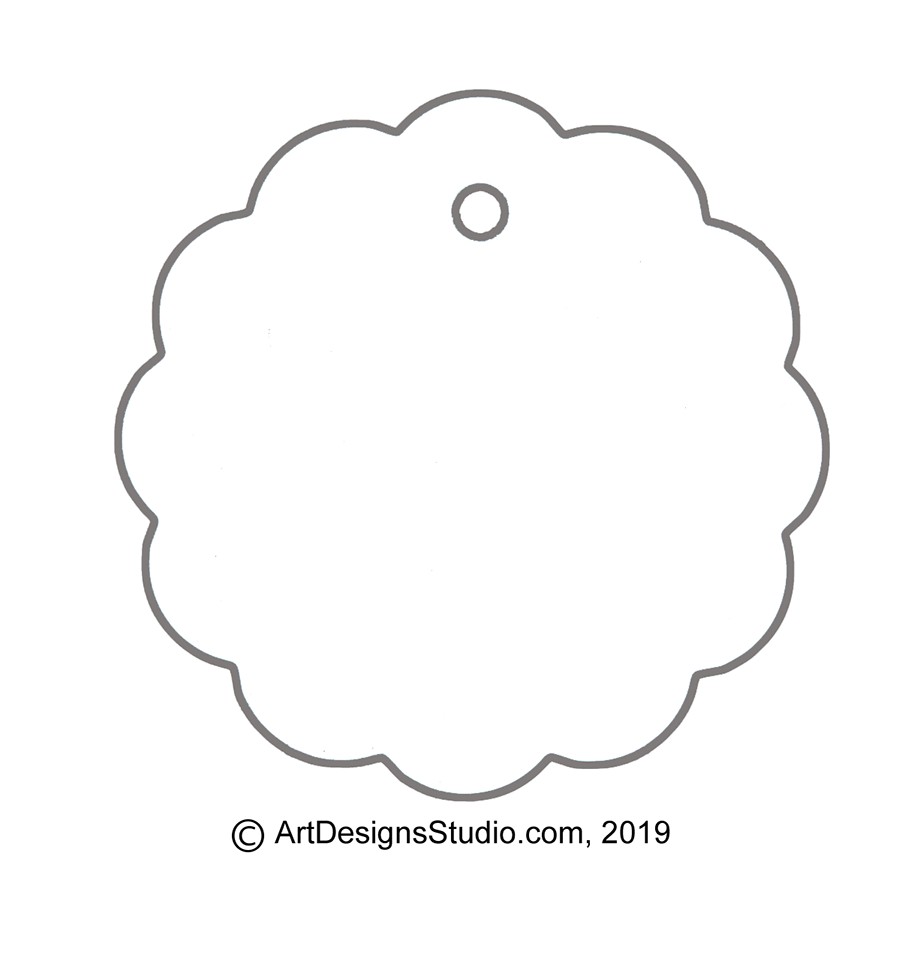
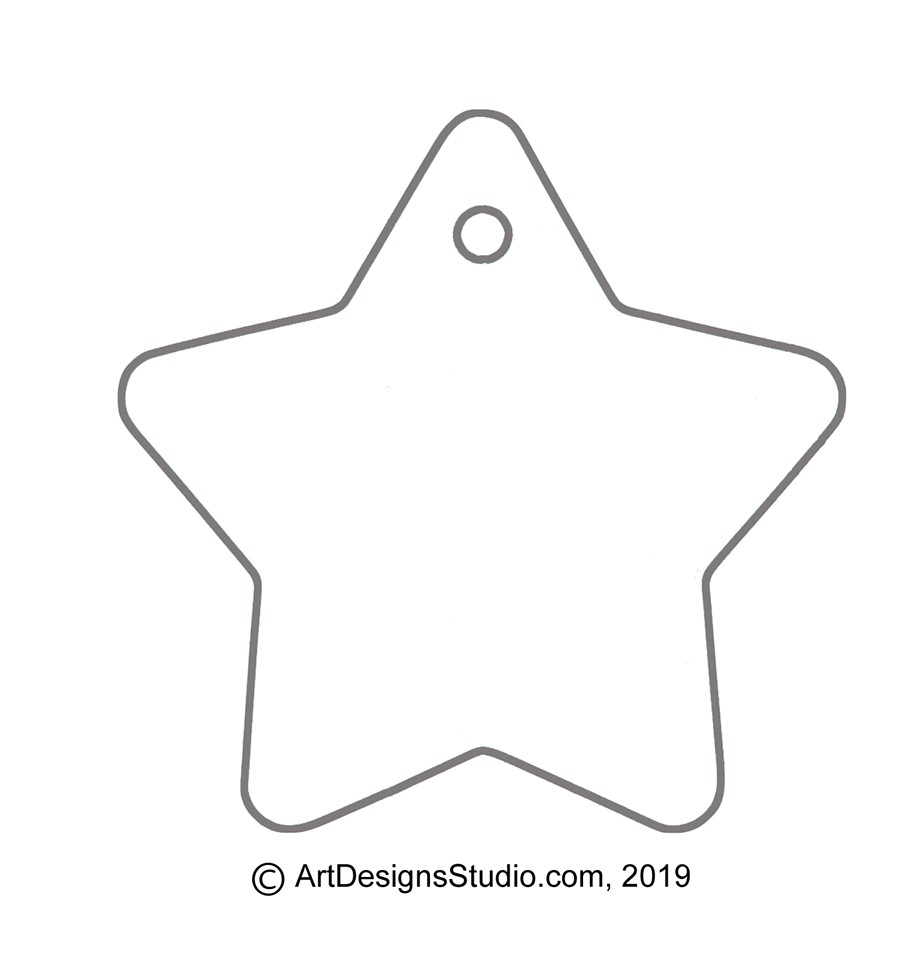
For my doodles I chose cardboard, kraft paper tags in a variety of shapes. The tags run around 2 1/2″ ( 6.5 cm) wide and up to 3″ ( 7.5 cm) tall.
Blank Digital, Printable Tags
Here are blank digital copies of the two tags that I have used to begin my 2019 Morgue File of Little Patterns.
Please click on the image and it will open a new window. Right hand click on the new, full-sized image and chose ‘save image’ to keep a copy on your computer.
Both patterns can be printed of card stock paper, directly from your computer printer so that you can create your own Morgue File tags.
Over the next month I will be posting a few each day. Two to three small designs that you can use with your pyrography wooden spoons, DIY Bullet Journal, and even as fun, applique quilt patterns. And, perhaps, my ideas will spark new ideas for you to create your own.
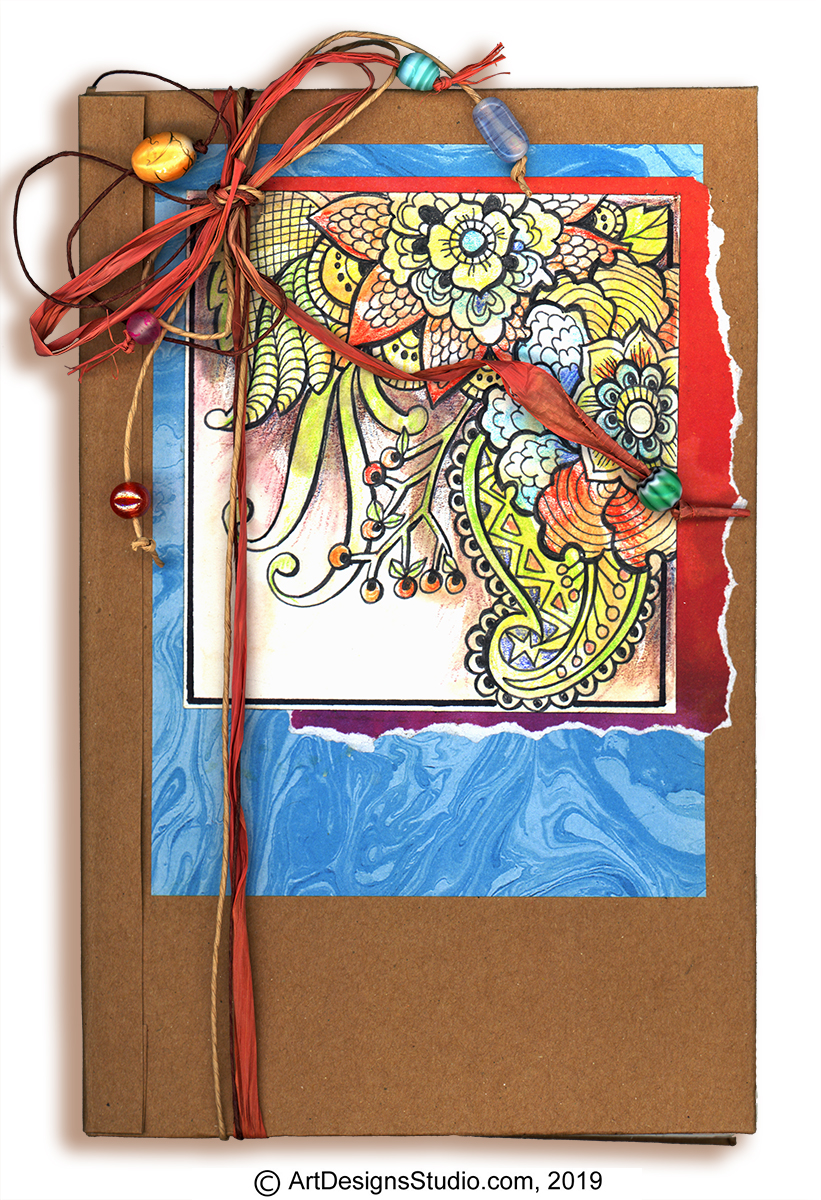
The DIY Book Making Journal, shown right, uses a pen and ink, gel pen pattern, worked on 140 lb. cold press watercolor paper, as the book cover design. This is a stitched book that holds 32 pages, also worked with the same watercolor paper.
The book boards – front and back cover – use light weight, brown kraft paper to cover the heavy cardboard pieces and to cover the stitched pages along the side of the book.
If you haven’t played with bookbinding yet, these links will get you stared.
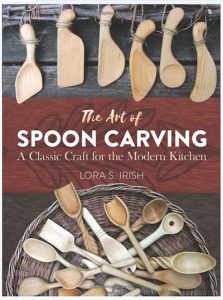
In an Amazon review a reader was distressed that I don’t teach spoon carving using a Sloyd knife, a very traditional knife used in this craft. I believe this is a fair and honest question that I could address here.
There are many different styles and shapes for the straight cutting knife that we often group under the name of ‘bench knives’. Some bench knives have long blades that may extend up to 4″ from the handle, others as chip knives may only have a 1″ long blade. Some blades are flat – straight – along the cutting edge from handle to knife tip while others may have a curve at the top 1/3 of the blade. Some are sharpened on one side only while others are sharpened on both sides.
While Sloyd knives are a traditional, Old World technique tool for spoon carving, why don’t I use or recommend them … because they don’t fit my hand! More at the bottom of this page ….
What is important in your choice of bench knives?
There are two specific aspects to your bench knife that determine which is best for you.
1. The quality of steel which determines the quality of the sharpened edge that you can achieve and keep during a carving session.
Cheap steep will never sharpen to a bright, clean edge and if you do achieve a usable sharpened edge that edge will not last very long during any carving session. Be prepared to pay about the same amount for one good bench knife as you would a full 5 to 6 piece beginner’s carving set.
2. The fit of the handle inside of your hand.
No knife, no matter how wonderful the steel, who manufactured it, how sharp an edge it keeps, or how it has been traditionally used in wood carving is worth a tin dime if it doesn’t properly rest inside your hand.
Notice here that I did not mention the piece or project that you are carving or the length of the bench knife blade. A good bench knife, one with high quality steel and a proper fit, will carve about 90% of the straight cuts that you need for any project. While many wood carvers have a variety of bench knives in their kits, most return over and over again to just one or two favorite tools.
What length of bench knife do you need?
For most carving projects today your bench knife only needs to make a clean slice of wood 1/2″ or less wide. If you need to take larger slices then you most likely need to move to a draw knife. Today’s carvers are working with milled wood that has been kiln dried. The bark has already been removed and the heartwood cut away from the blank. Few of us need to rough cut a split piece of bark wood that needs to be dressed down to a flat, squarish shape before we begin carving either of which could require a longer blade length.
Let’s return for a moment to the discussion about using a Sloyd knife as compared to a standard bench knife or chip carving knife. A Sloyd knife is wonderful if you are de-barking a long walking stick that you have cut from a sapling. The extra long blade does allow you to glide the cutting edge down the sapling, releasing very long strips of bark. This is very important if you are removing the bark after the stick has dried.
You can also debark while the stick is green using a shorter bladed knife by lifting the top edge of the bark and pulling the bark off the stick.
If I am carving details in my work, as shaping the side of a spoon bowl or cutting the facial planes of a wood spirit that long blade on the Sloyd pushes my hand several inches away from where I am cutting. A short blade, as a 1″ chip blade, places my hand, and therefore my control of the cut, right at the point of the cut.
Does it fit your hand?
For me this is as important as the quality of the steel. If a knife does not properly fit your hand I will guarantee that it will spend most of your carving life in the box of your tool kit … quietly rusting away!!
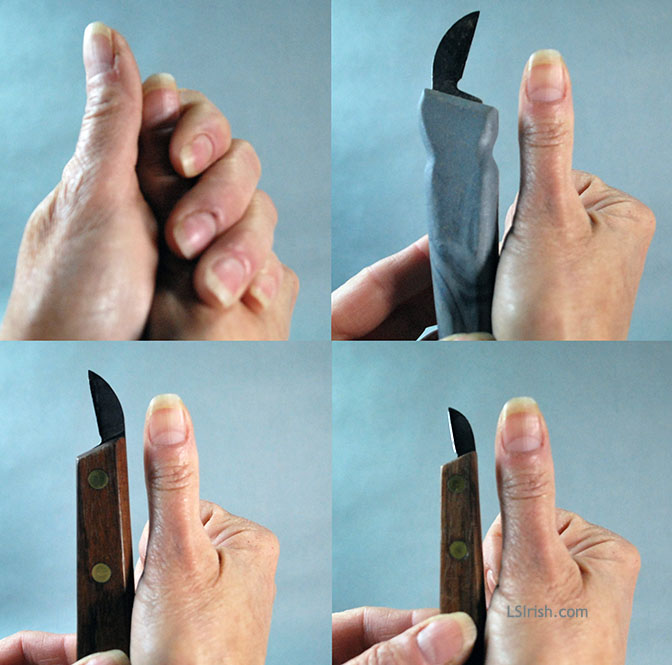
A well-fitting knife handle lays across your palm between the major fold wrinkle of the fingers and the major fold wrinkle of the thumb palm. The fattest part of your thumb rests nicely into this space, which means that the fattest width of your thumb is an excellent gauge for the thickness of your bench knife handle.
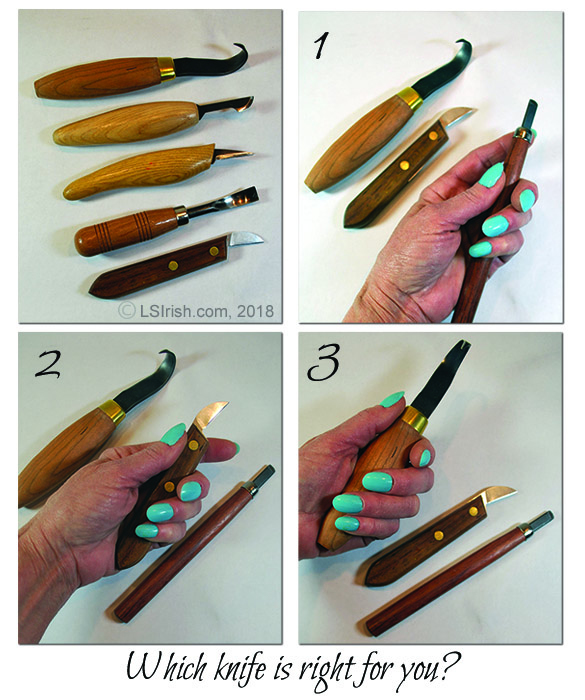
In the photo, right, the bottom left knife handle is the most appropriate for the size of my hand. The top right shows a handle that is too wide, and the bottom right one that is too narrow.
When you roll your hand around the handle, the tips of your long and ring finger should just lie about 1/4″ away or just against the side of the thumb palm. This fit lets you have free motion of your fingers, your thumb, and your wrist during any cut – not too tight, and not too open. Your fingers hold the knife handle to the palm without the need of excess pressure.
Too narrow or to thin a handle and your finger tips will need to curve into a clenched shape to hold the knife steady. That clench causes extra tension in the hand which over time becomes tiring.
Too wide a handle and your finger tips will not touch the thumb palm area. With this grip you need extra pressure to steady the knife through the cuts. Again, this can cause fatigue and stress on your hands.
Looking at the first photo on this post.
Upper left shows five different tools and knives that are commonly used in spoon carving. From top to bottom are a FlexCut Carving Hook, a FlexCut hooked skew, a FlexCut bench knife, a wide bent round gouge, and a Moor Chip Carving knife.
1 Upper right – Shows a bull nose chisel with a narrow handle. The handle sets forward in my hand, allowing the fingers to move the tip of the blade through detailing work.
2 Lower left – Shows a Large chip carving knife that fits my hand perfectly. The finger roll completely around the handle without the need for extra tension to secure the handle in my palm.
3 Lower right – Shows a large handled carving hook which is too large for a good fitting grip for my hand. The handle has been pushed into the palm area and my finger need a tighter grip to secure the handle during use.
Old World v. Modern Day
Yes, sloyd knives, carving hooks, and scoops are traditionally used in the Old World style of spoon carving. Traditionally these knives and tools have extra wide handles as shown in the top three tools in the upper left photo above. Those wide handles were made to fit a medium to large man’s hand, because until about 100 years old traditionally woodworking and wood carving was done by men.
Today what is necessary is having and using a bench knife that fits your hand properly. Today it is reasonable to estimate that one half of all carvers are women, with smaller hands and therefore narrower grips than men.
While writing this and talking with my husband, a long time woodworker, we did a small comparison. His hand, a medium-sized man’s hand, measures 7 3/4″ long from the finger tip to the wrist bone of the thumb … mine measures 6 1/2″. His hand measures 3 3/8″ wide across the knuckles, mine measures 2 7/8″. While his hand is large enough to comfortable hold a Sloyd knife, mine simply isn’t.
Humans are a dimorphic species – males tend to be about 10% larger than females. Therefore in general what was used for centuries by a male population of woodworkers and wood carvers may not be appropriate for today’s mix of hobby carvers.
Conclusion
It’s not what knife you use, it’s not about a particular manufacturer’ or Old World style … it’s all about whether that knife fits YOUR hand.
PS … And that is why I never recommend ergonomic grip tool handles as they only fit one person’s hand, he who made the handle mold in the first place.