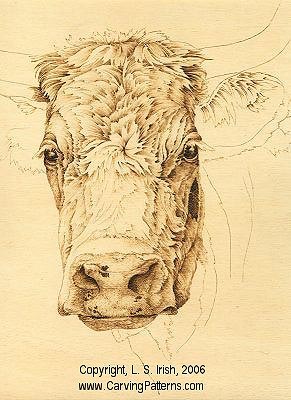
Step 3: Separate each individual clump of hair
In the second stage of burning I have strengthened the first stage by darkening the shadows were the clumps tuck under each other. Then I moved into the left side of her face. Since my light source is coming into the burning from the left this side of her face is brighter in color tone. The darkest areas for the left side of the face are at the horn base and surrounding her eye. I adjusted my heat setting to a lower temperature for these areas. I have added the darkness to the eyes, nostrils, mouth line and the dark color spot on the right side of her neck. Here I turned up the heat setting slightly.
Because I am working the fur clumps in stages each clump will eventually develop very dark areas, medium tone areas and pale highlights before the individual hairs are added to the wood burning.
Step 4: The inner ears, eyes, and nostrils are the blackest points
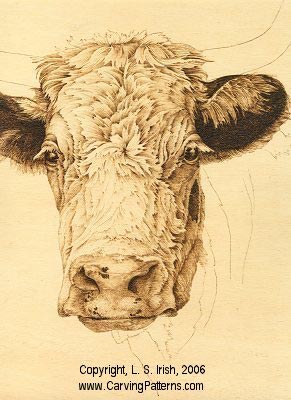
Adding the darkness in the ears pushes the pale area of her face forward in the burning. At this point you can see the dramatic tonal change between these two areas.
Sometimes in a wood burning an area is created by not burning that area. This is true for the nose ridge area of her face. Because this area and the eye brow area of her left eye are receiving direct sunlight the fur or hair appears extremely pale in color. There are very few shadows in these two areas and those shadows that do exist are very pale in color tone.
At this point the burning has definite shadows for each clump of hair, dramatically dark areas in the ears, eyes and nostrils, plus very pale areas along the nose ridge and left eye brow.