
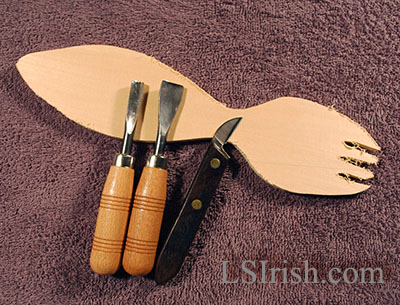
 The classic wooden spoon may be the easier beginner’s wood carving project there is. During this session of our free, summer cross-crafting seminar we will work through the wood carving steps to shape the handle and bowl of a wooden fork.
Cross-Crafting Seminar Introduction
Cross-Crafting Seminar Supply List
Cross-Crafting Seminar Free Patterns
Cross-Crafting Seminar, Scroll Saw Basics
Cross-Crafting Seminar, Setting Up Your Scroll Saw
Cross-Crafting Seminar, Scroll Sawing the Wood Spirit Face
Cross-Crafting Seminar, Wood Burning the Wood Spirit Face
Cross-Crafting Seminar, Colored Pencils for the Wood Spirit Face
Cross-Crafting Seminar, Cutting a Wooden Spoon
Cross-Crafting Seminar, Carving a Wooden Spoon
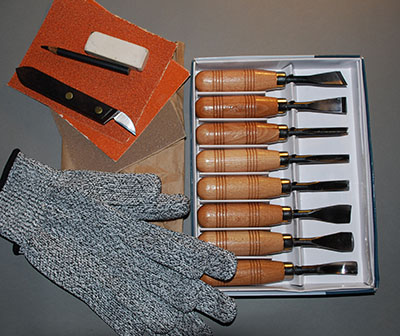
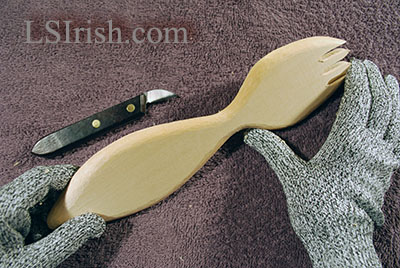
Supplies:
1 – scroll saw cut wooden spoon, slotted spoon, or fork blank
wide sweep round gouge
narrow, half-circle, bent round gouge
bench knife or chip carving knife
carving gloves, thumb guard, or heavy terry cloth towel
150-, 220-grit sandpaper
6″ or large square of brown paper bag
Note: Working with the wood grain
As you work through the carving steps for this wooden fork you will need to pay close attention to the wood grain direction in each area of your work. Both the handle and bowl of your wooden spoon are curve-shaped. This means that at the widest point in the curve the direction of your cutting strokes must be reversed to work the knife or gouge blade with the grain. The grain direction of your wooden spoon blank determines the directions of your bench knife and gouge strokes. You want to move the knife so that it runs with the open fiber ends of the wood grain, not into those open fibers.
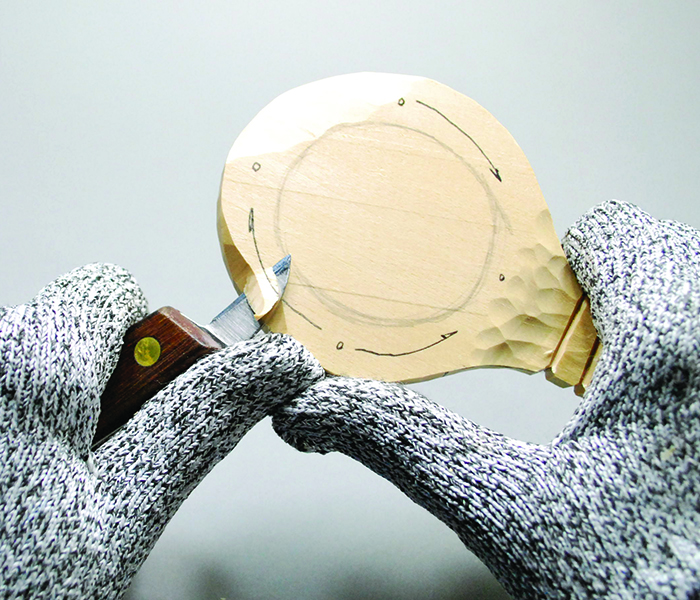
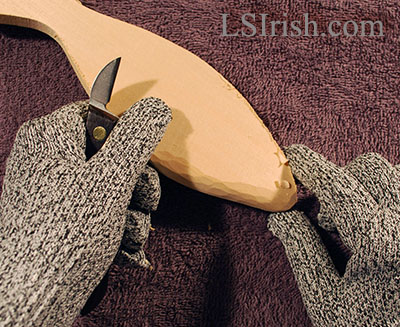
Step 1: Rough-cut the edges of the handle along the back of the spoon.

Begin with your bench knife and using a paring stroke, pulling the knife blade towards you, round over the back edge of the lower section of the spoon bowl. I am using carving gloves in these photos. Gloves are cut resistant not cut proof! So, please, watch carefully how you are holding your knife and where the knife blade will go if the knife slips out of the cut. Often, I carve using thumb guards instead of gloves as they give me more movement in my hands. If you have neither, use a thick terry-cloth towel in your holding hand as protection.
Step 2: Rolling small cut strokes along the edge of the handle.
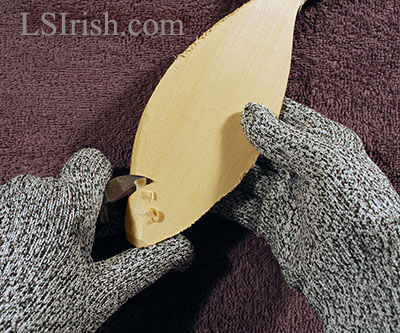
The sides are round by making many, small paring strokes, worked from the inside area of the handle, moving each new cut slowly towards the edge of the handle. This first series of rounding paring cuts is worked from the center point of the handle towards the top edge of the handle.
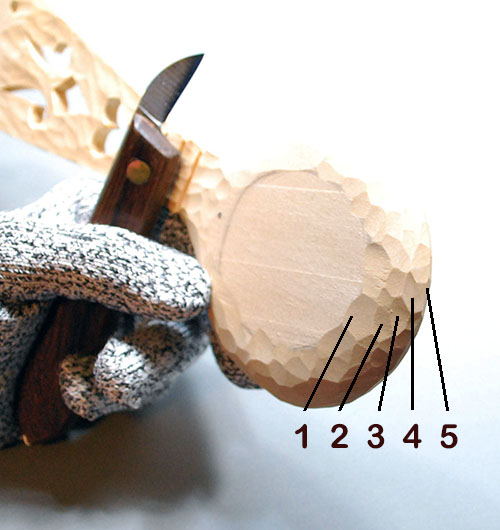 You can see the progression of small cuts in this photo. Using a series of small cuts, worked from the center back towards the spoon’s edge creates a true curved edge instead of a lightly rounded sharp corner.
Step 3: Round over the second lower edge of the back of the handle.
Continue working the lower edge of the back of the handle by moving your cutting strokes to the second side of the spoon. The smaller your cutting strokes the smoother the finished edge will be.
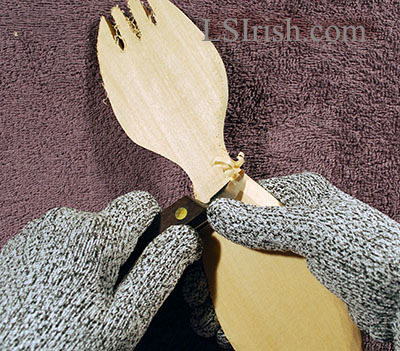
Step 4: Work the back handle edge towards the fork’s bowl area with your bench knife.

This rounding process is moved to the front portion of the back of the handle. To work with the grain line of the wood, these cuts are made using a push stroke – pushing the knife blade away from you.
Step 5: Change the direction of your bench knife cuts to match the change in grain direction at the narrow joint between the handle and bowl.
Use a series of short, small bench knife cuts, worked from the center area of the handle towards its outer edge to round over the handle. Stop your cuts where the handle narrows into the fork’s bowl area, as your wood grain direction will change at this point in the blank.
Step 6: Free the cutting strokes at the narrow joint.
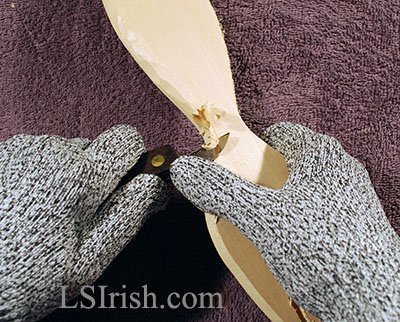
Flip your spoon blank in your hand so that you are working the knife from the fork’s bowl area into the narrow joint with the handle. This will bring the cuts from step 6 to meet the cuts you are making now, and free those cuts from the narrow area.
Step 7: Finish rounding over the edge of the back by working the fork’s bowl area.
Continue rounding over the back edge of the fork by working the bowl area with your bench knife.